Dimensional Measurements (LBYMF1A)
TARGET AUDIENCE: Students, Academics, Industry Professionals, Employers, and Tech Enthusiasts
OVERVIEW: I took this class as a freshman. At the time, the online setup pushed us to create our own sets of DIY Caliper Gauges as well as define our own uncertainty of precision on our made instruments. Once F2F resumed, an optional class was offered to these instruments firsthand. A great deal of this class has been neatly summed up by SME, the MEM home org :)) Refer to this link for more info!
LEARNINGS AND EXPERIENCE: As a future engineer, the time and effort I put into learning the science of metrology and measurements defines the fundamental skills I use in my designs and experiments. In any field of engineering, being able to take measurements and comprehend the results is essential. I was able to apply this information to my real-world tasks and projects down the line!! Some of the writings and exercises I completed to demonstrate this expertise are listed below.
Dimensional Measurements
SUMMARY: A key takeaway that stuck with me for this topic is the parallax error which is a common error in measurements. This error is caused by the misalignment of the eye and the instrument, which can lead to inaccurate readings. To minimize this error, it is important to keep the eye parallel to the instrument and to use a straight edge to align the instrument with the object. Below is are the activities that I did for this topic.
Vernier Calipers
PERSONAL SUMMARY: Seeing a vernier caliper in real-life and an engineer applying it in the field, I was glad that I got to learn how to get a reading using this tool 🔥. A key takeaway that stuck with me for this topic is the parallax error which is a common error in measurements. A learning that stuck with this tool is to ensure that the slide position reference mark is within the sliding window to call a readout and its resolution. Below is a showcase of my work related to this topic.
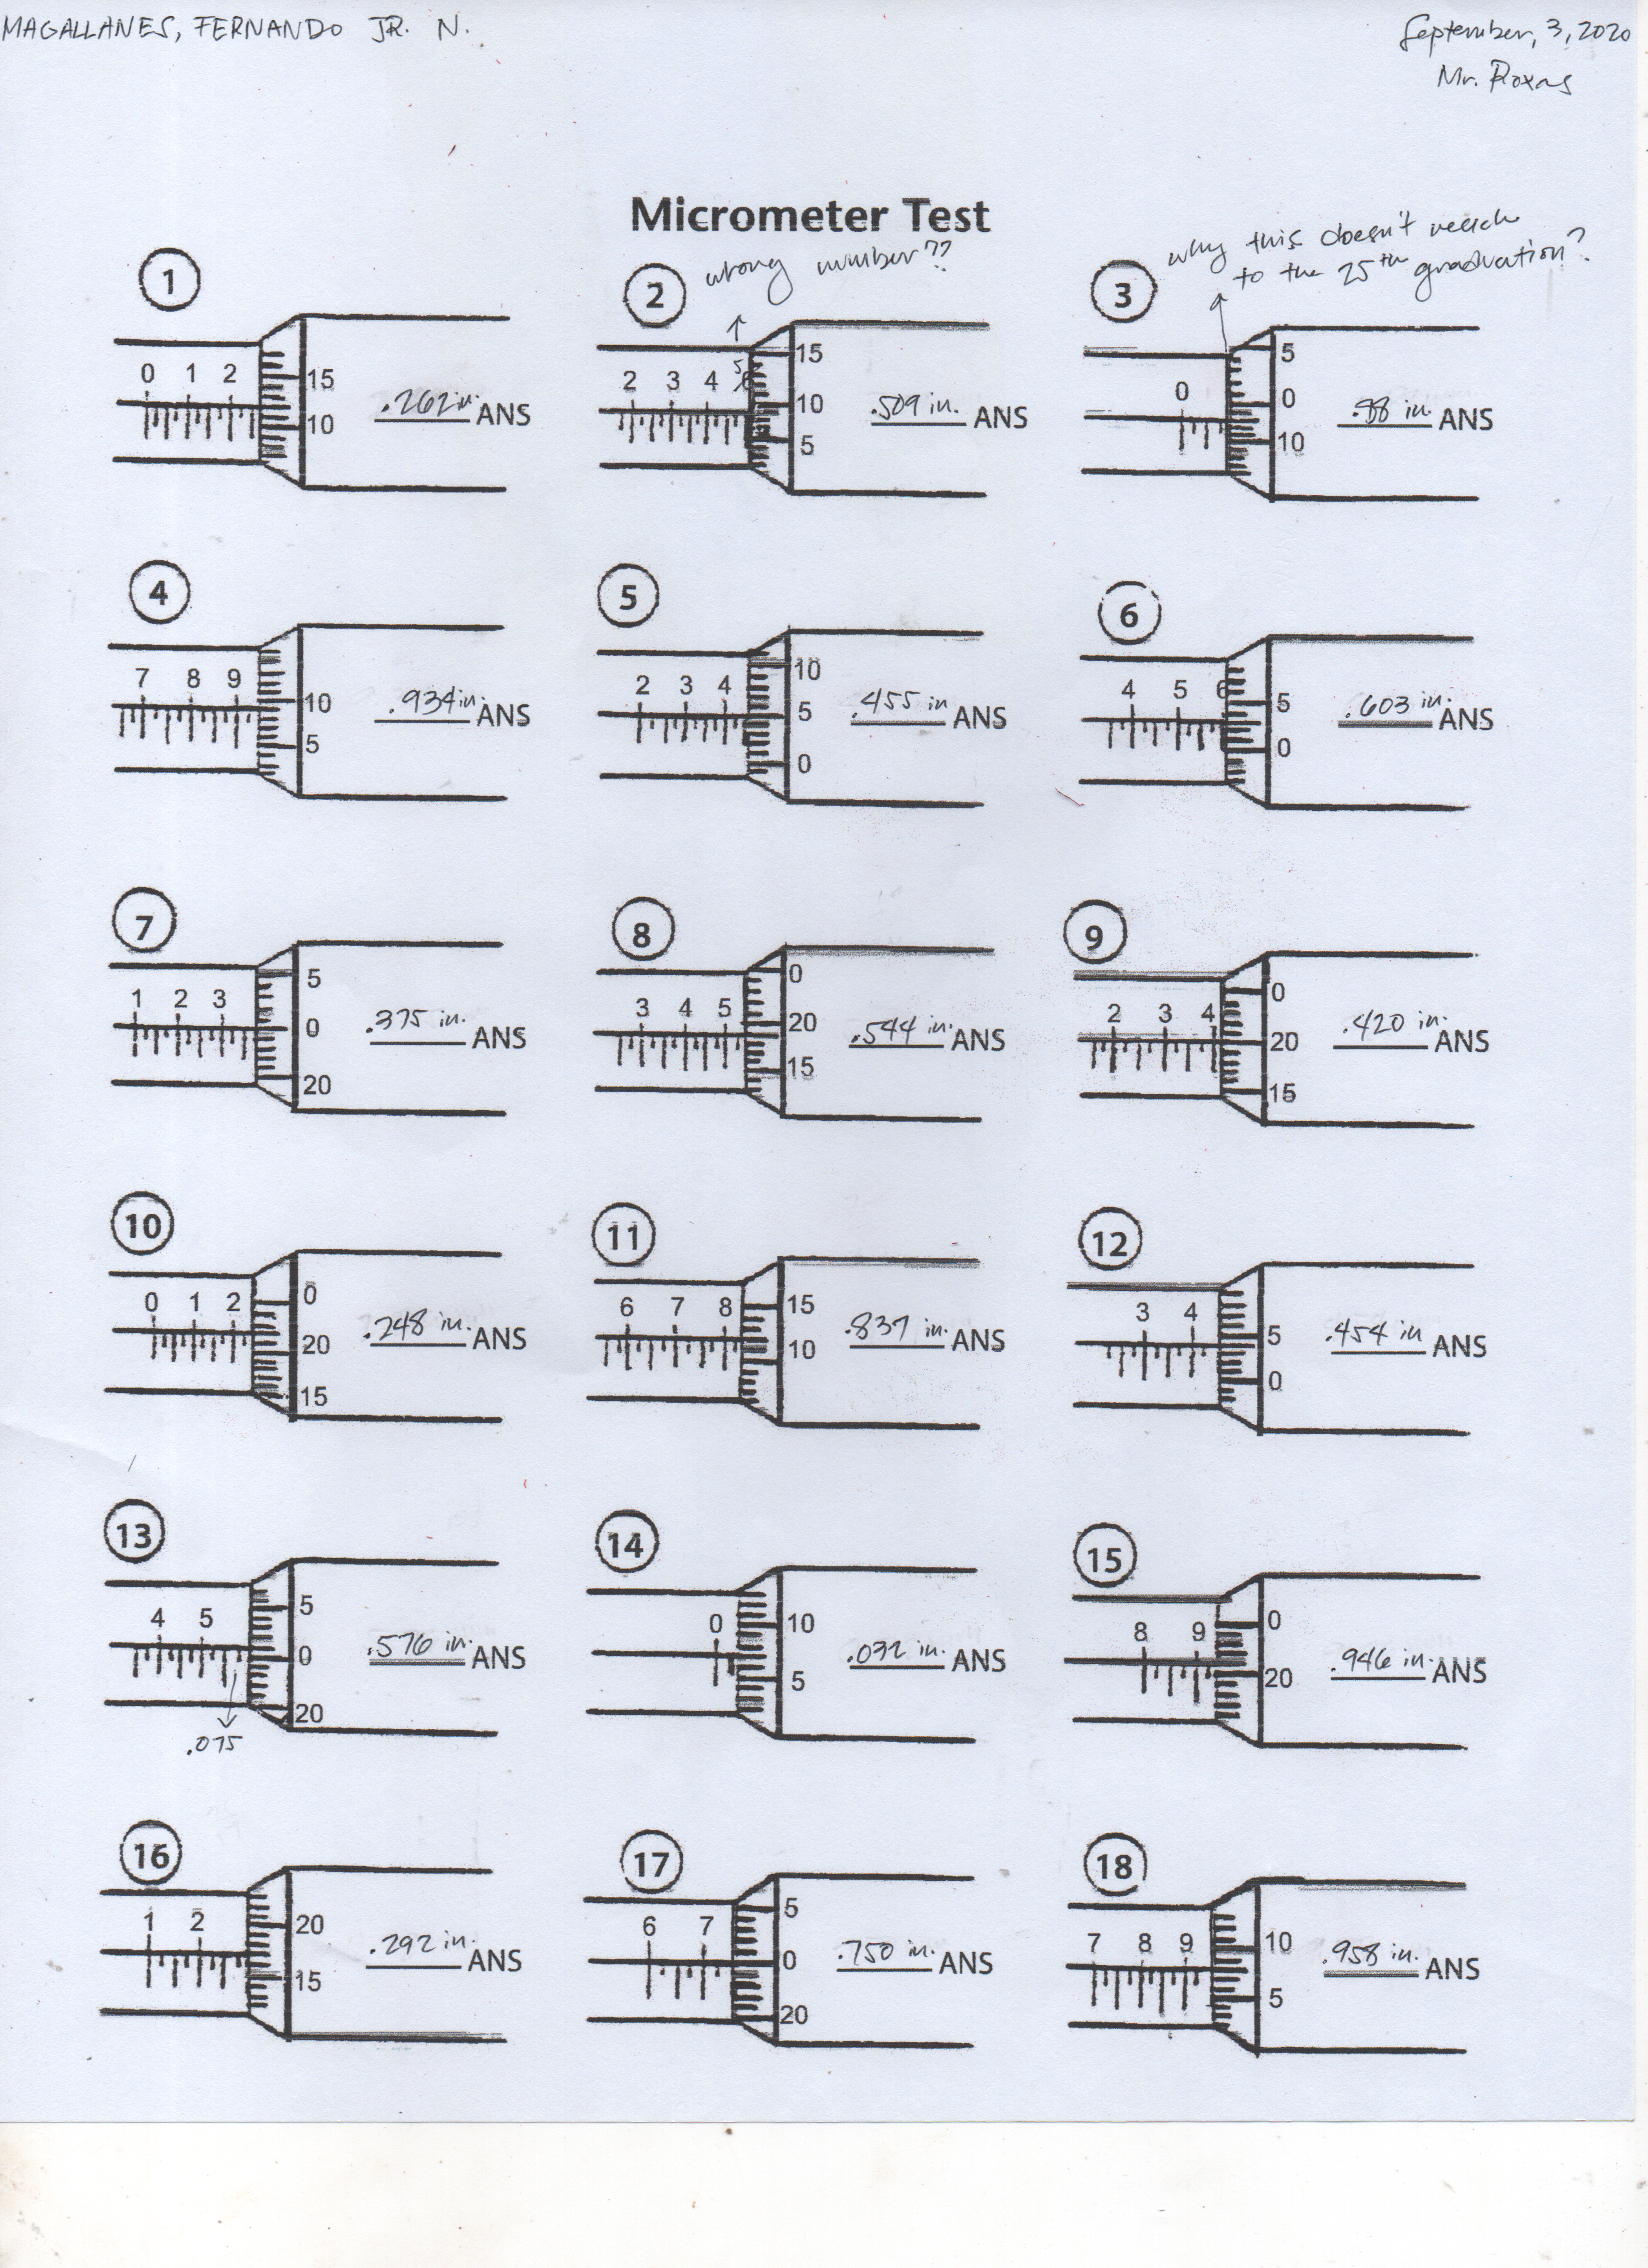
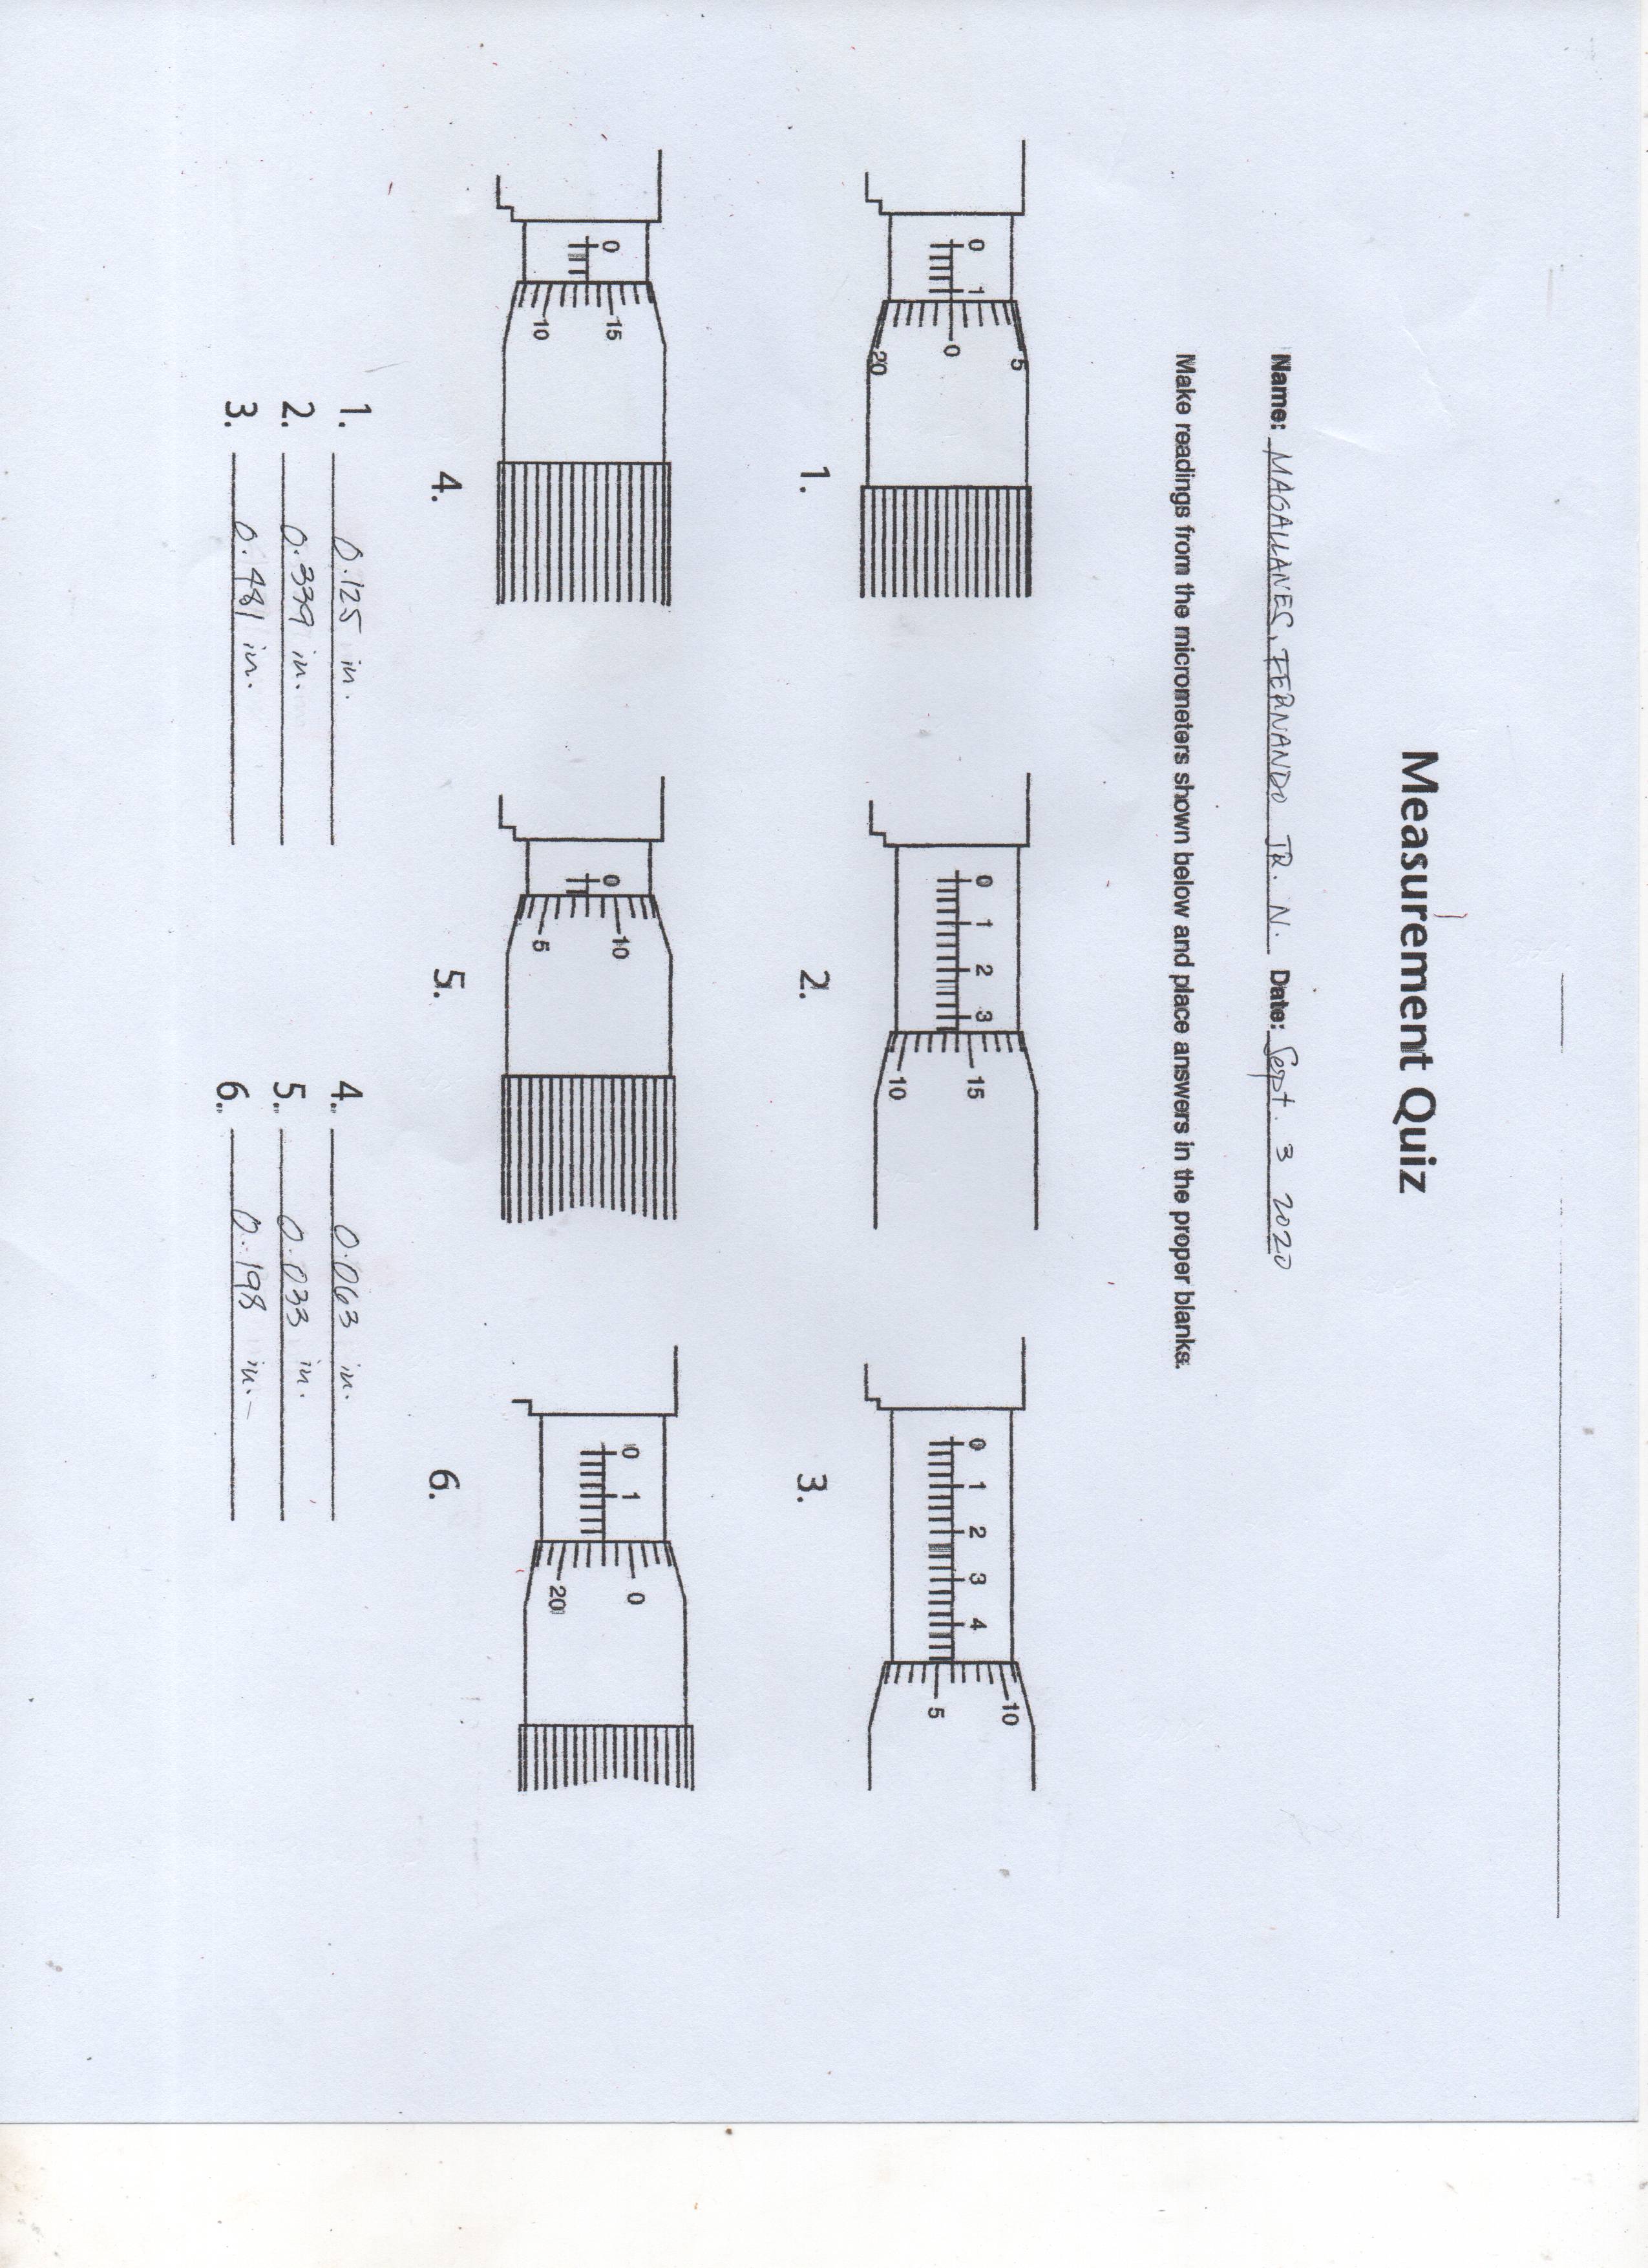
Micrometers
PERSONAL SUMMARY: My understanding of micrometers was never utilized in actual work but the appreciation that this instrument has a better resolution and sensitivity stands out to my memory everytime I think of this tool. A Micrometer provides a far more precise means of measurement as it can reach up to a thousandth of an inch with the ratchet to control the pressure applied on a test object. 😎


Gauges
PERSONAL SUMMARY: In memory, I saw once gauge blocks and how they were applied in oil for a wringing process in the metrology lab in DOST-MIRDC. It never ceases to amaze me how these form the very definition of precision lengths that is being applied worldwide and in local industry as the definition of some of our fundamental measurements. Gauges have been the standard and the origin point of what it means to define length in terms of the international unit of meters. A more thorough dive of these tools is shown in the article that I made below.
Enjoy Reading This Article?
Here are some more articles you might like to read next: