Fixing broken things, Handyman work
TARGET AUDIENCE: Future self as reference for future DIY repairs; people who are doing their own DIY repairs at home
Note: Taglish; This post is also casually being updated to add any entries of diy home and electronics repairs made along the years
OVERVIEW: One of the few things that I always try to do is to fix things around the house. Siyempre habang wala pang trabaho at may oras tayo kailangan natin tumulong one way or another sa mga gawaing-bahay at guminhawa rin buhay natin on one aspect or the other with working tools. Thankfully, I know my way around hardware electronics as well as having a Dad na engineer rin that guide me in the repairs, I tend to know my way around fixing broken things in the house. I’m sharing in this post my recent fixes in the past years as reference for my future self on DIY repairs for these type of appliances and also maybe, maybee, have people try DIY repairs and save money on similar situations.
Leaky Faucet (2025)
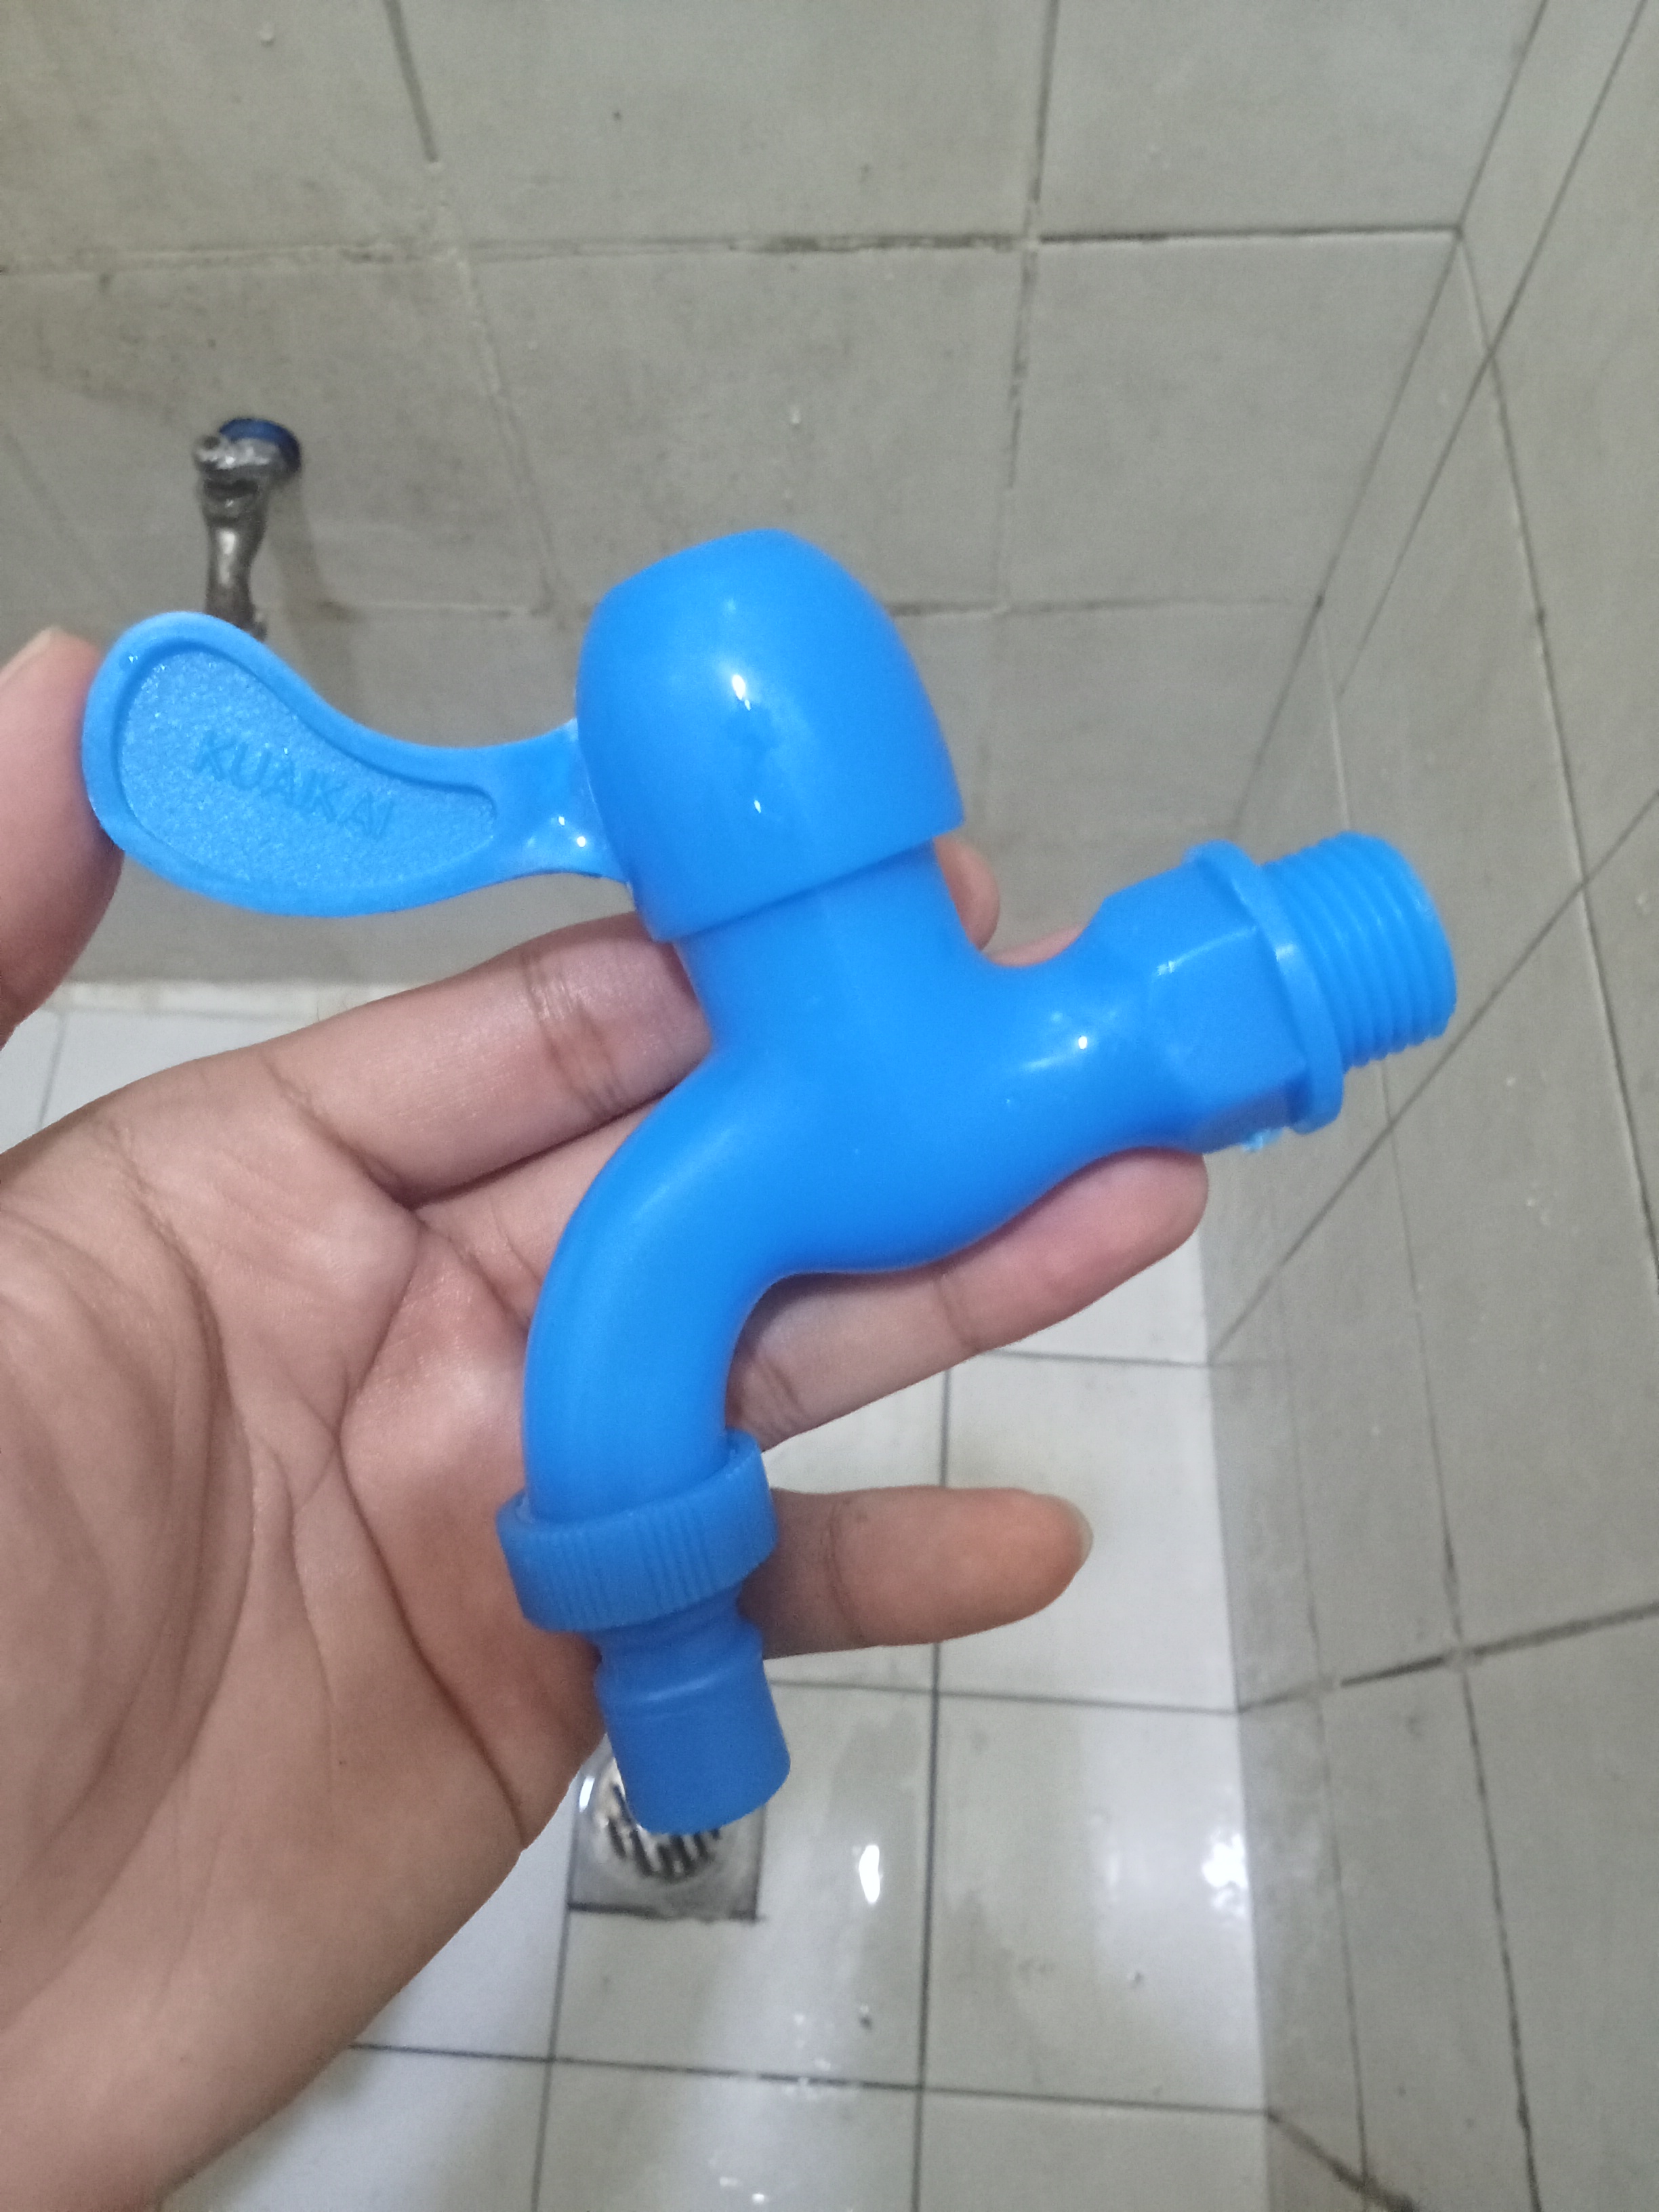
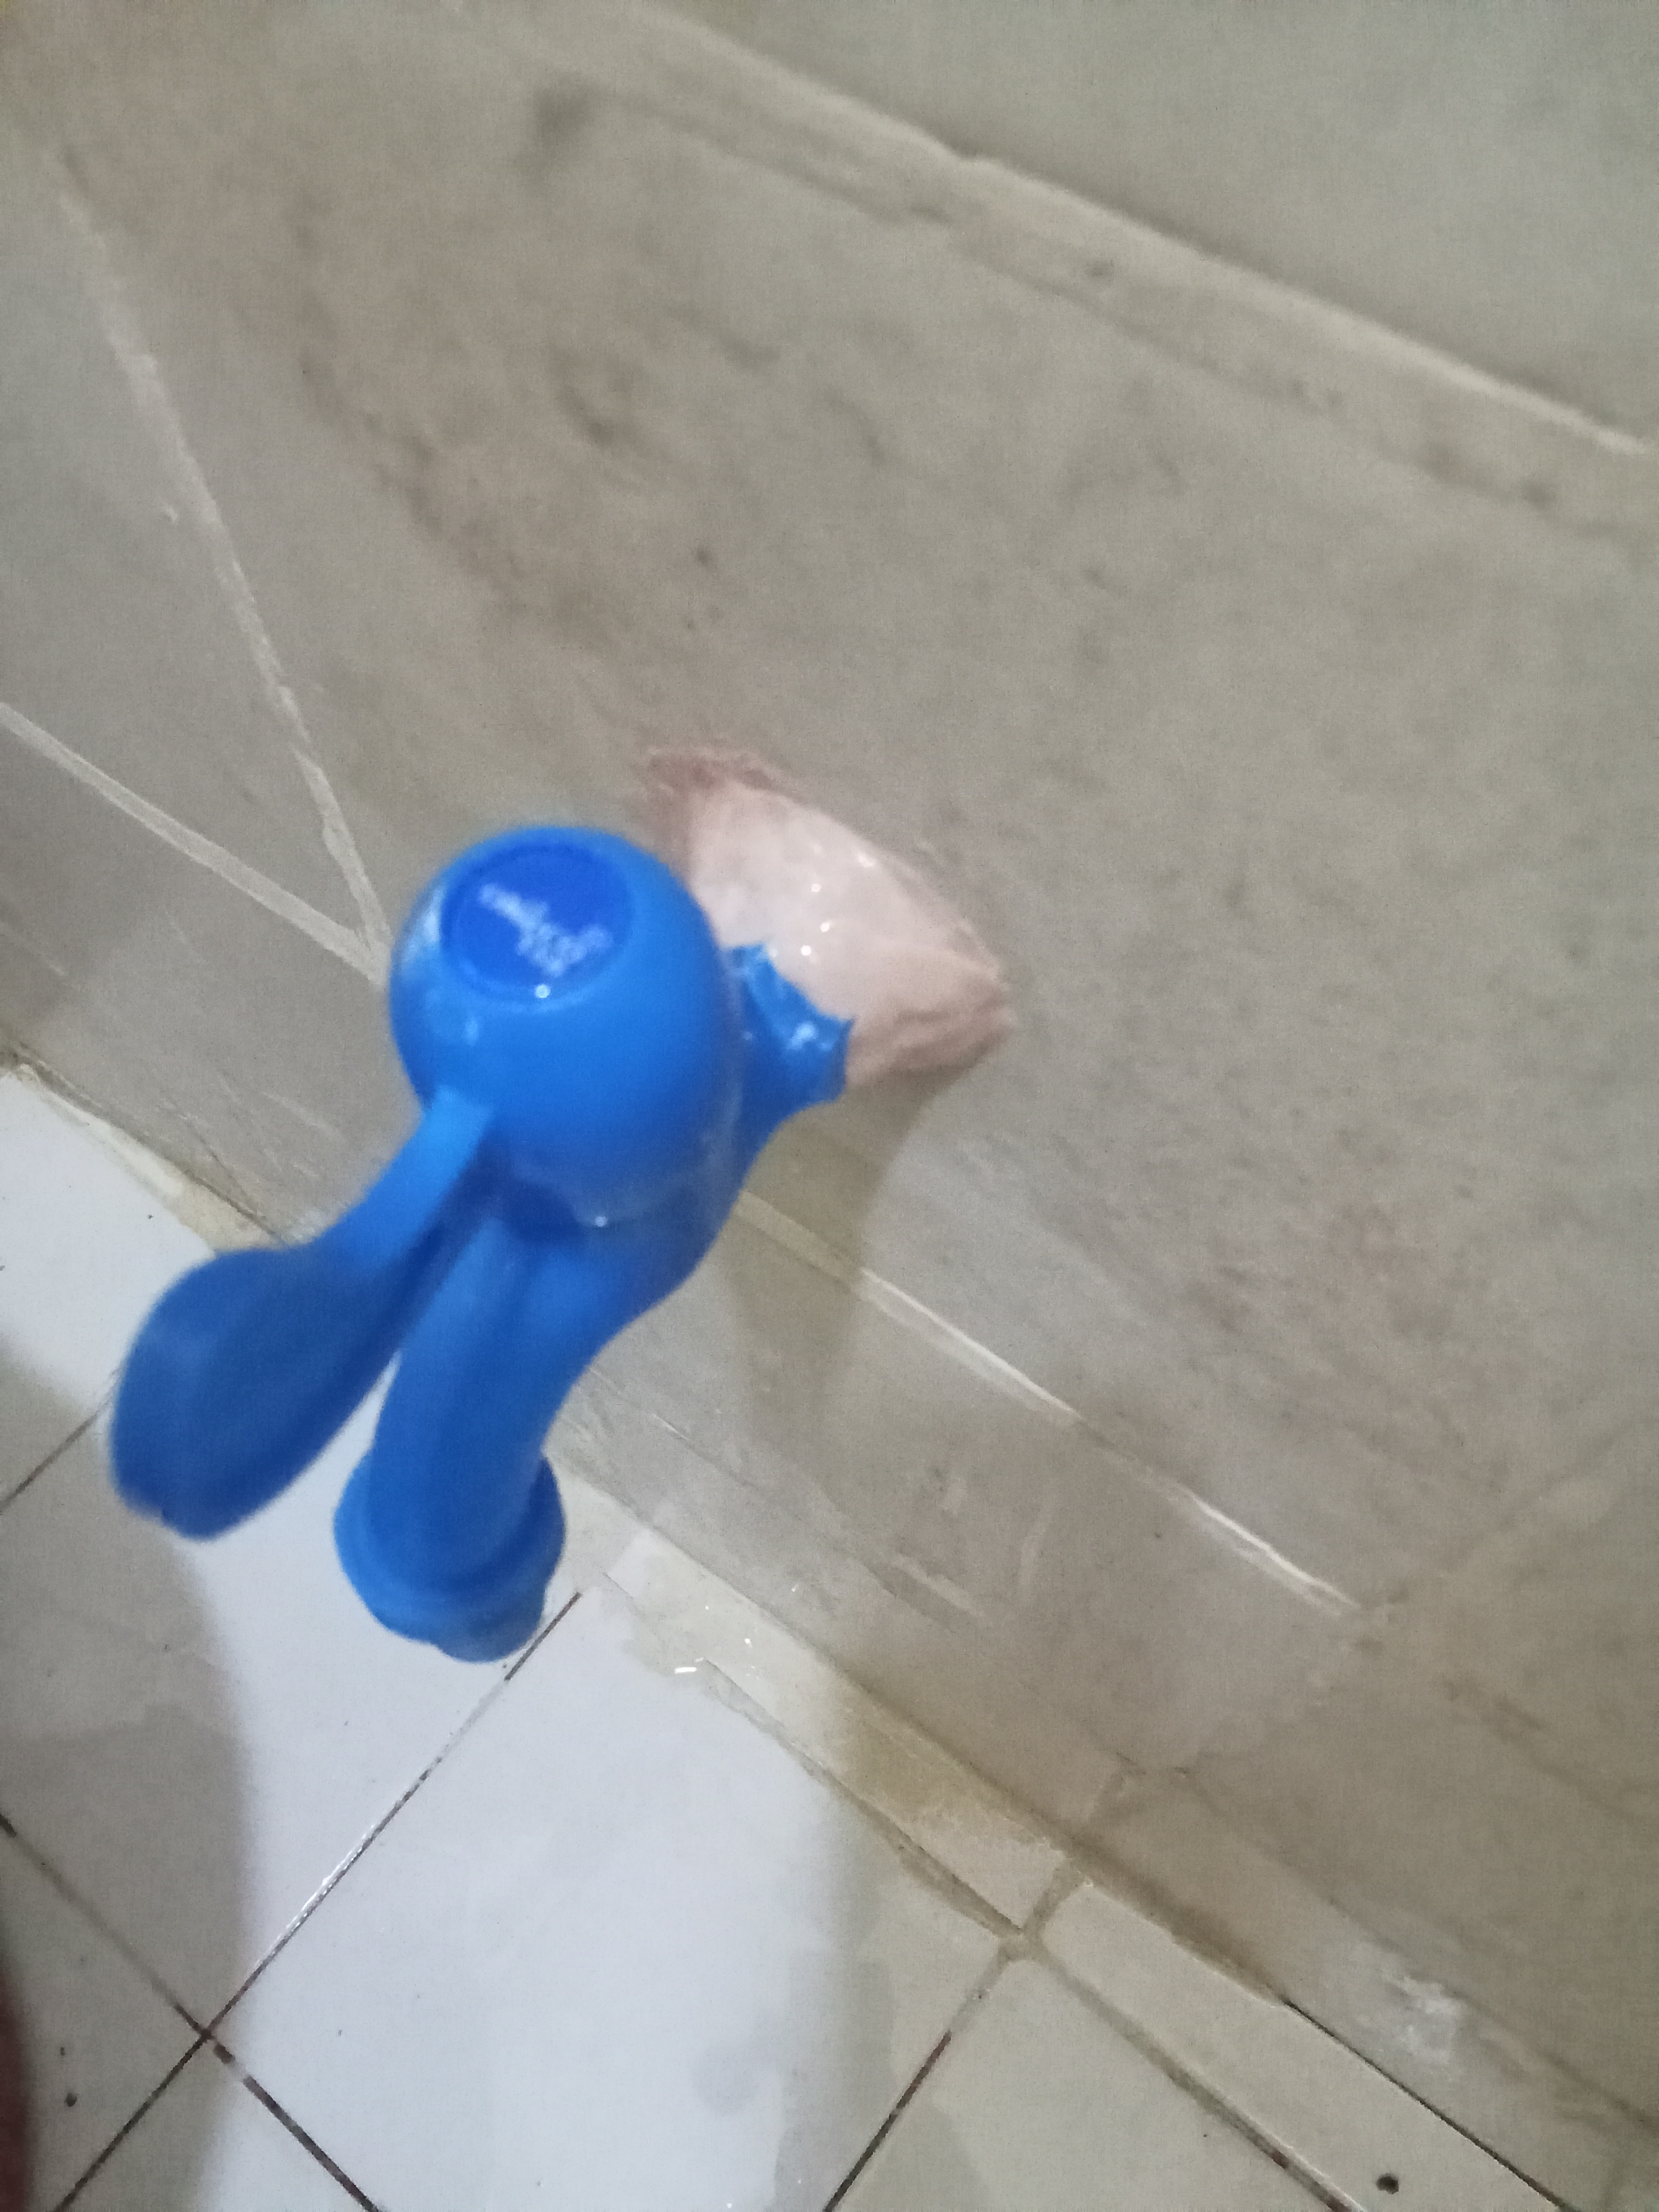
We notice the leak at oru bathroom faucet last year and now malala na ung sirit. The problem is that our house has only a single valve that controls the entry of the whole water supply flowing from the meter. Lahat ng tubig then na dumadating sa bahay namin ay galing sa depende sa pressure from the supply. Kaya kung aayusin to, kailangan namin isara ung main valve na ito para maayos namin ung faucet.
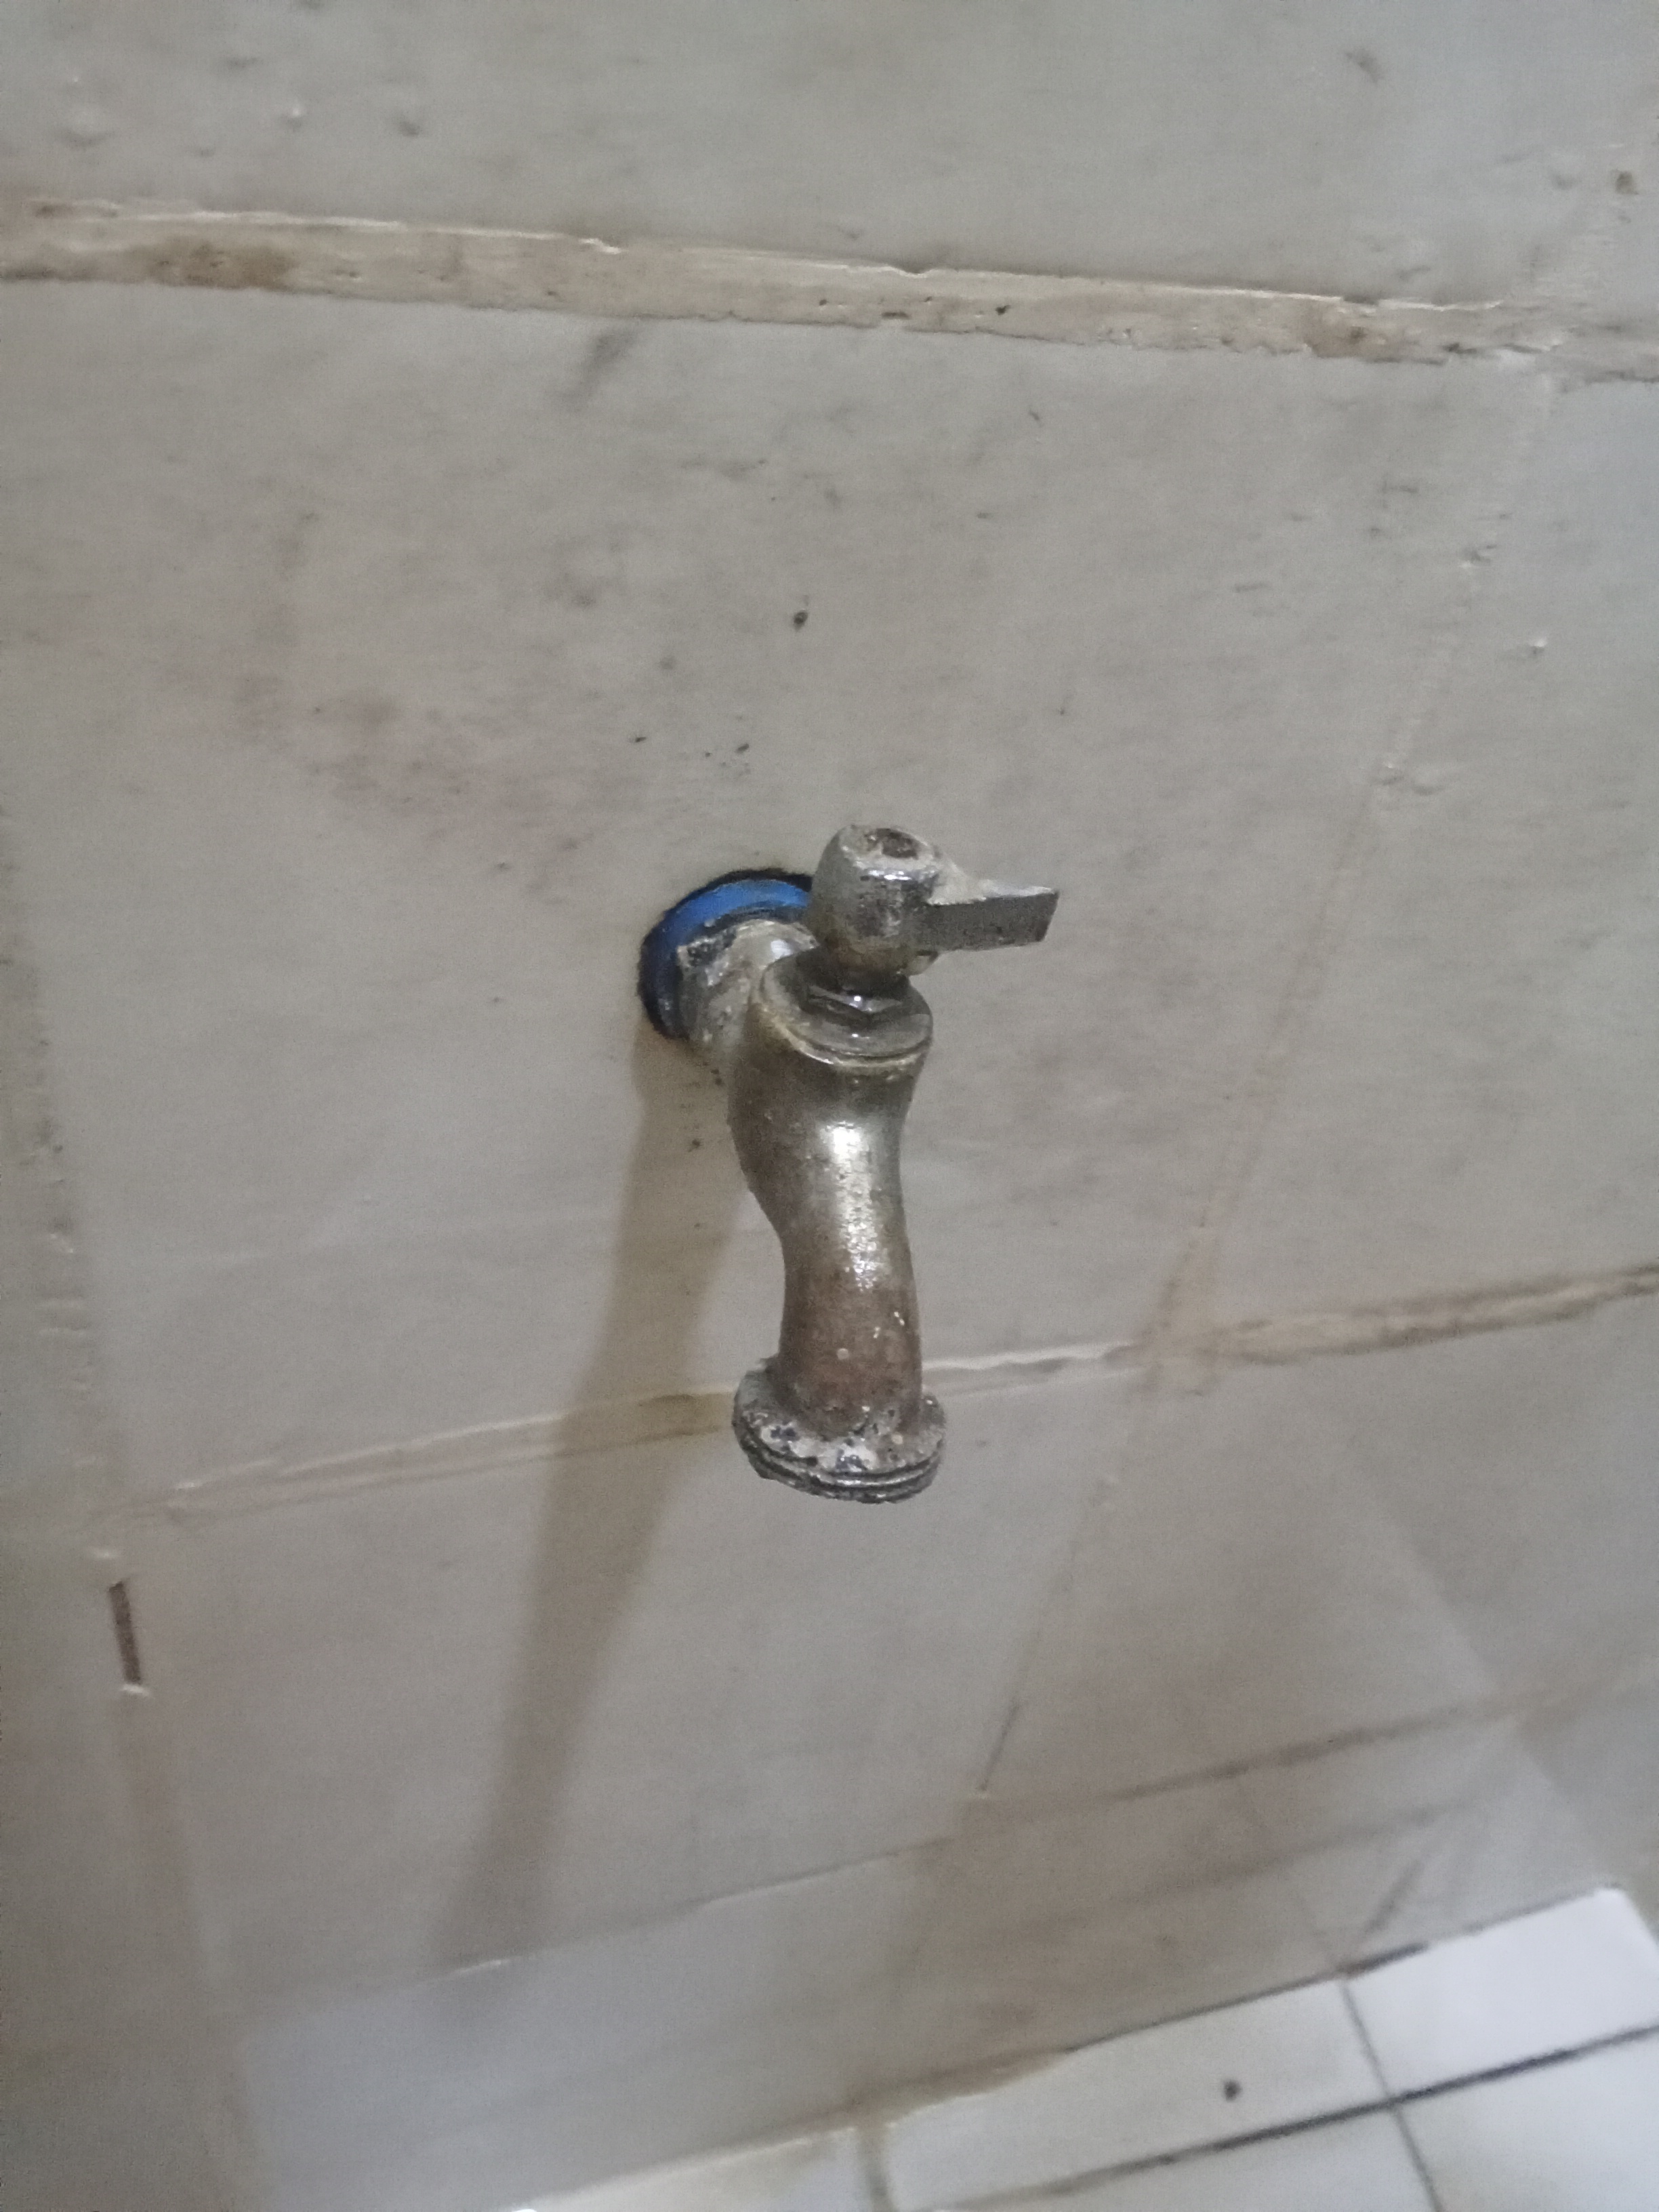
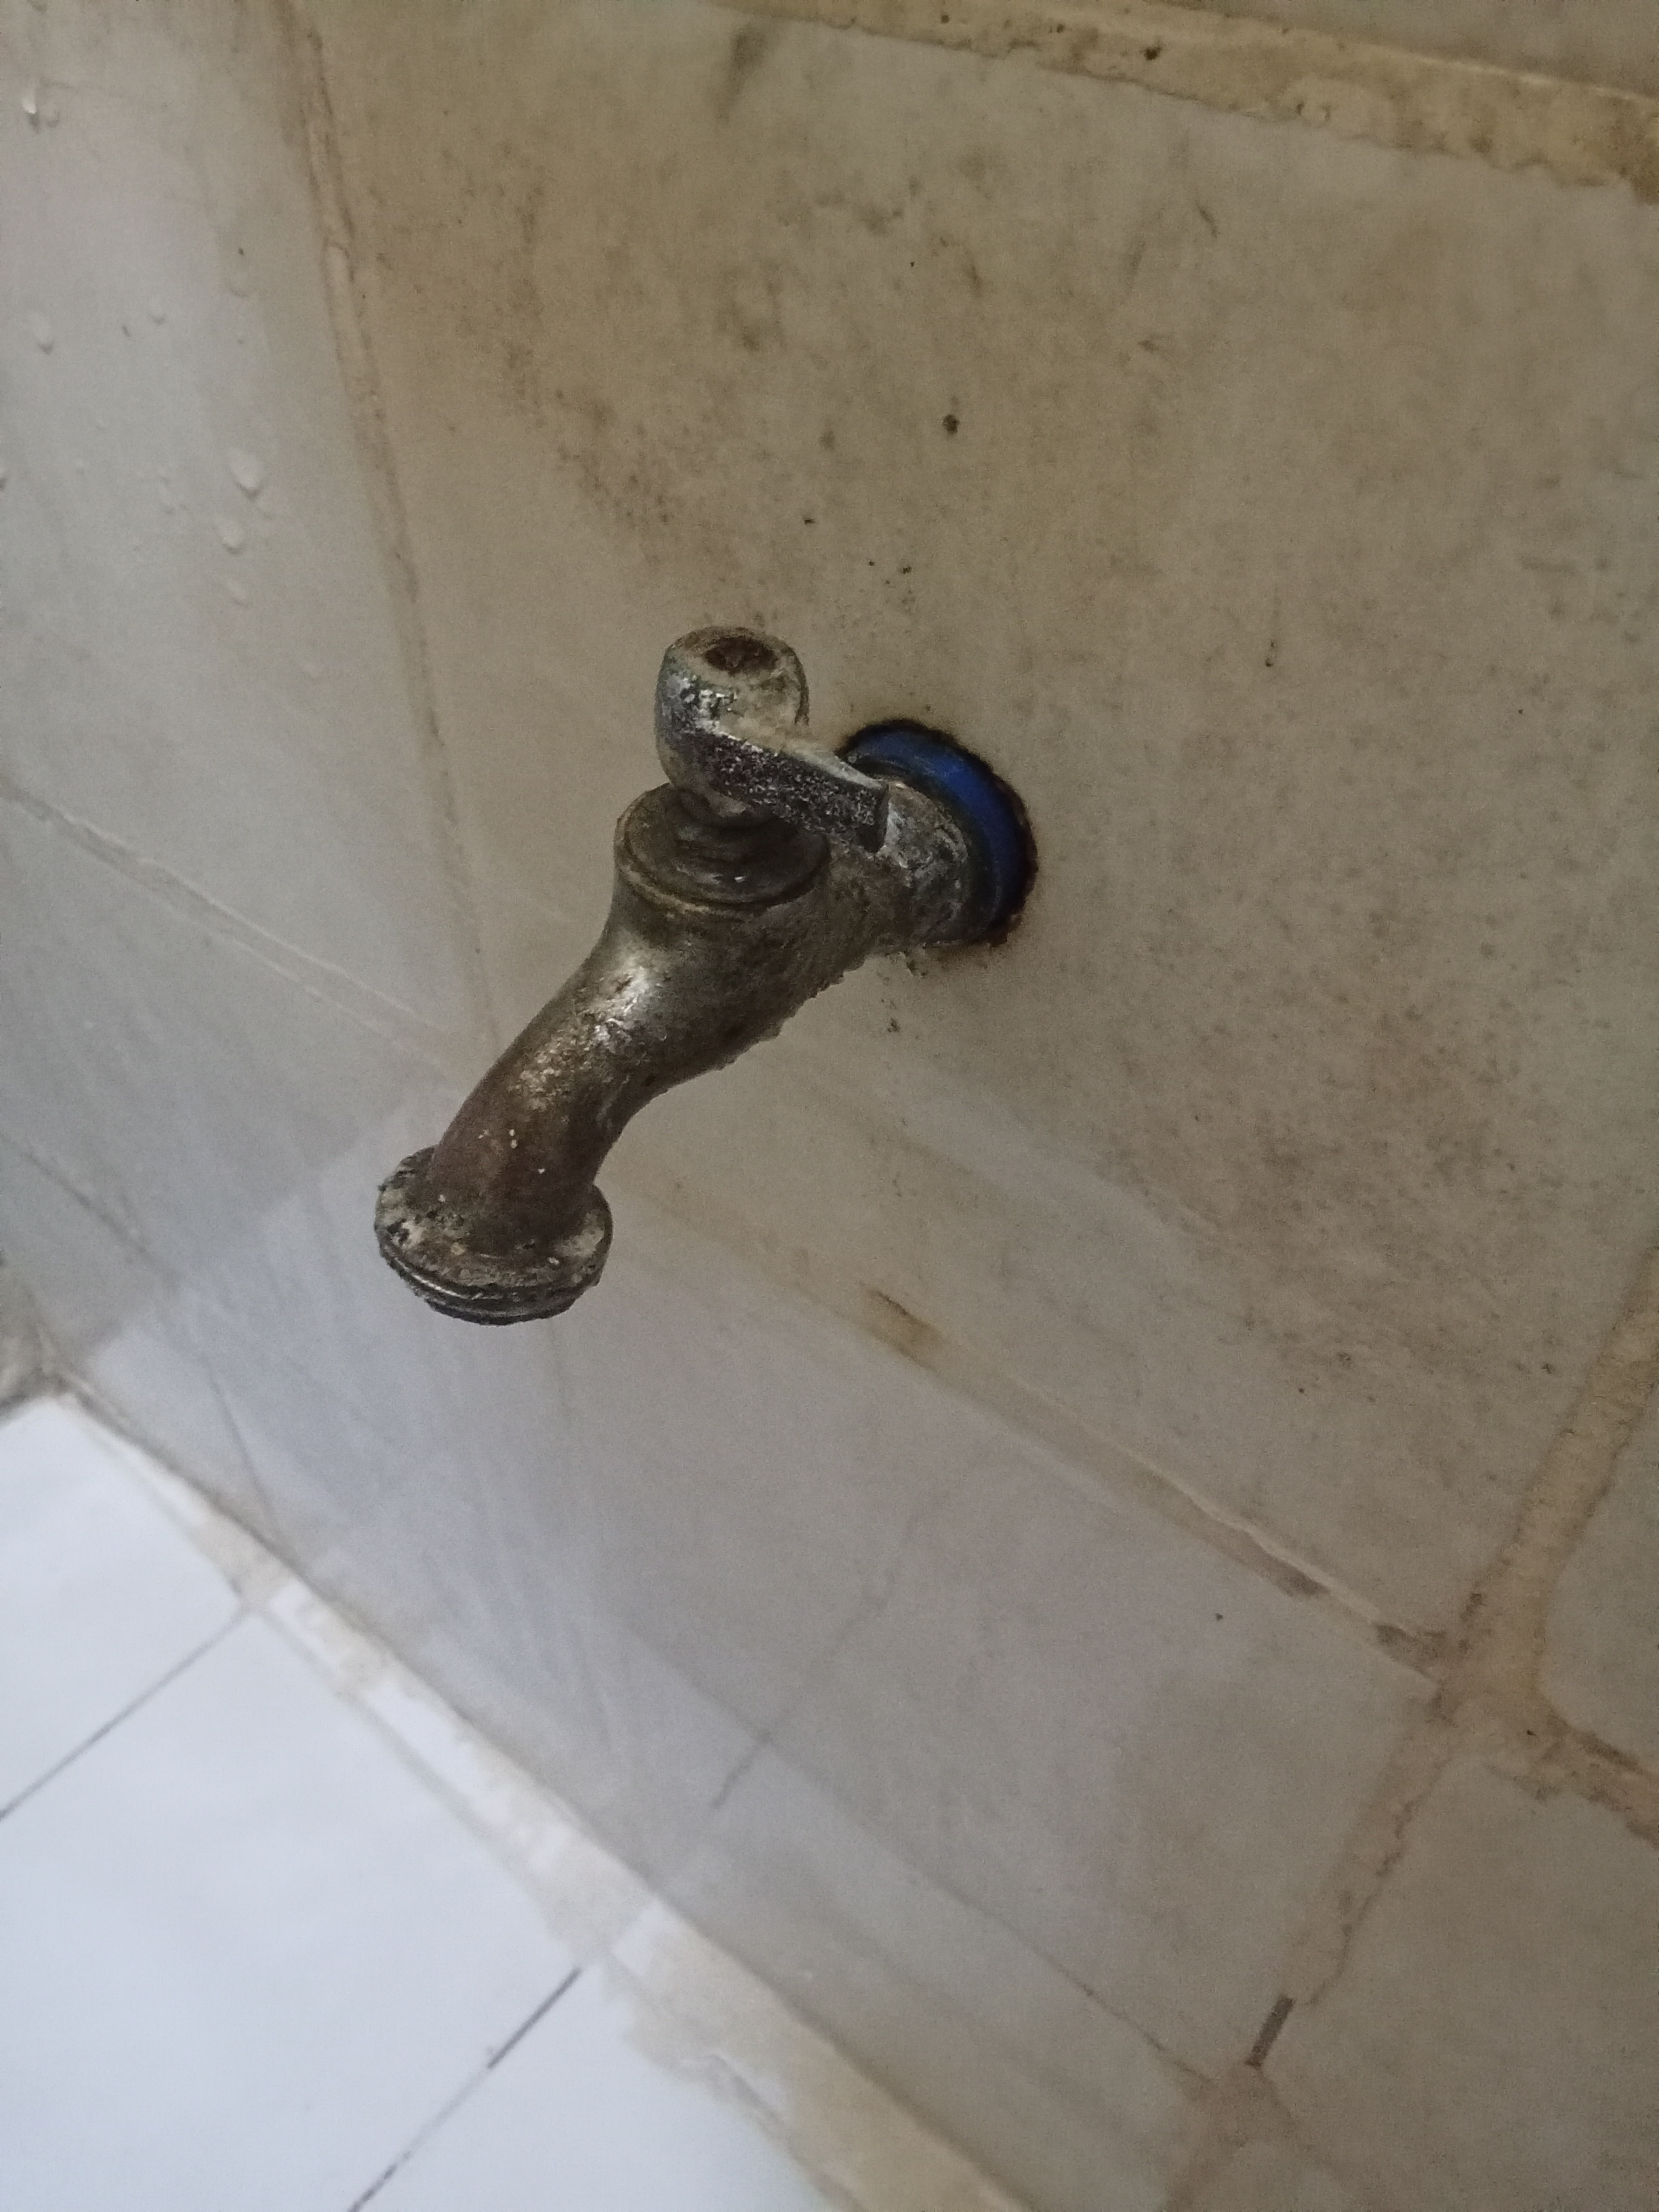
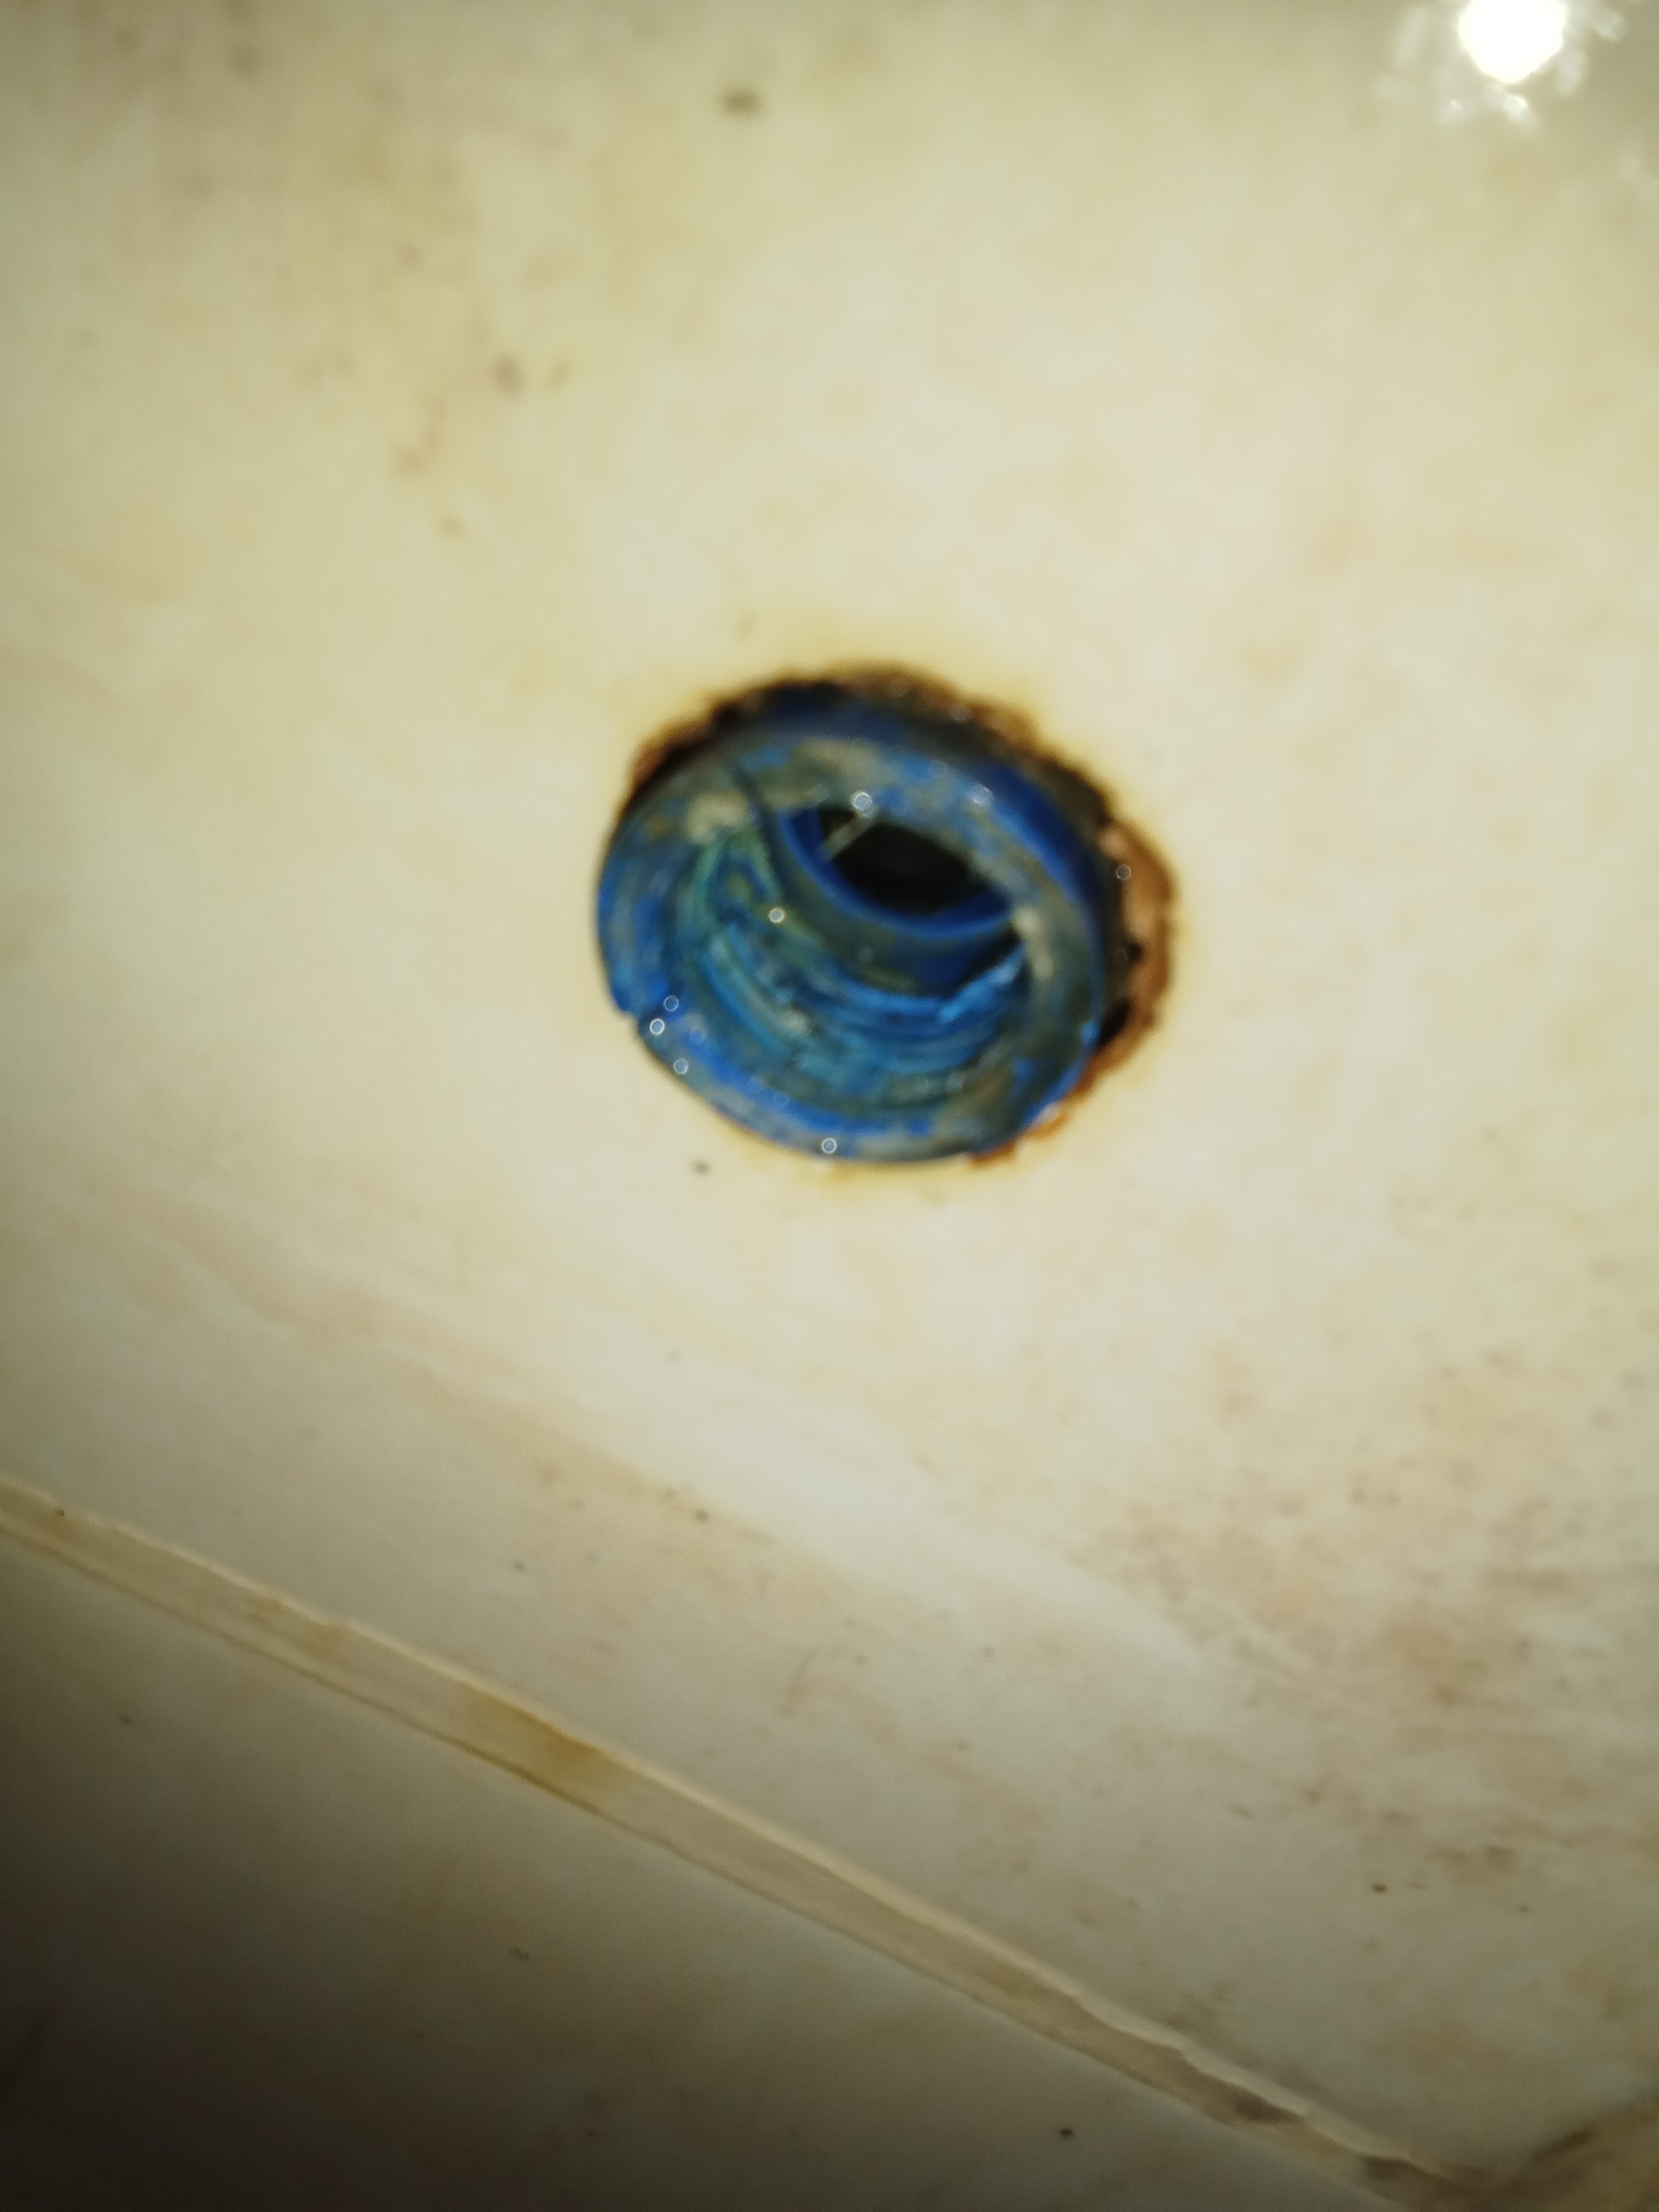
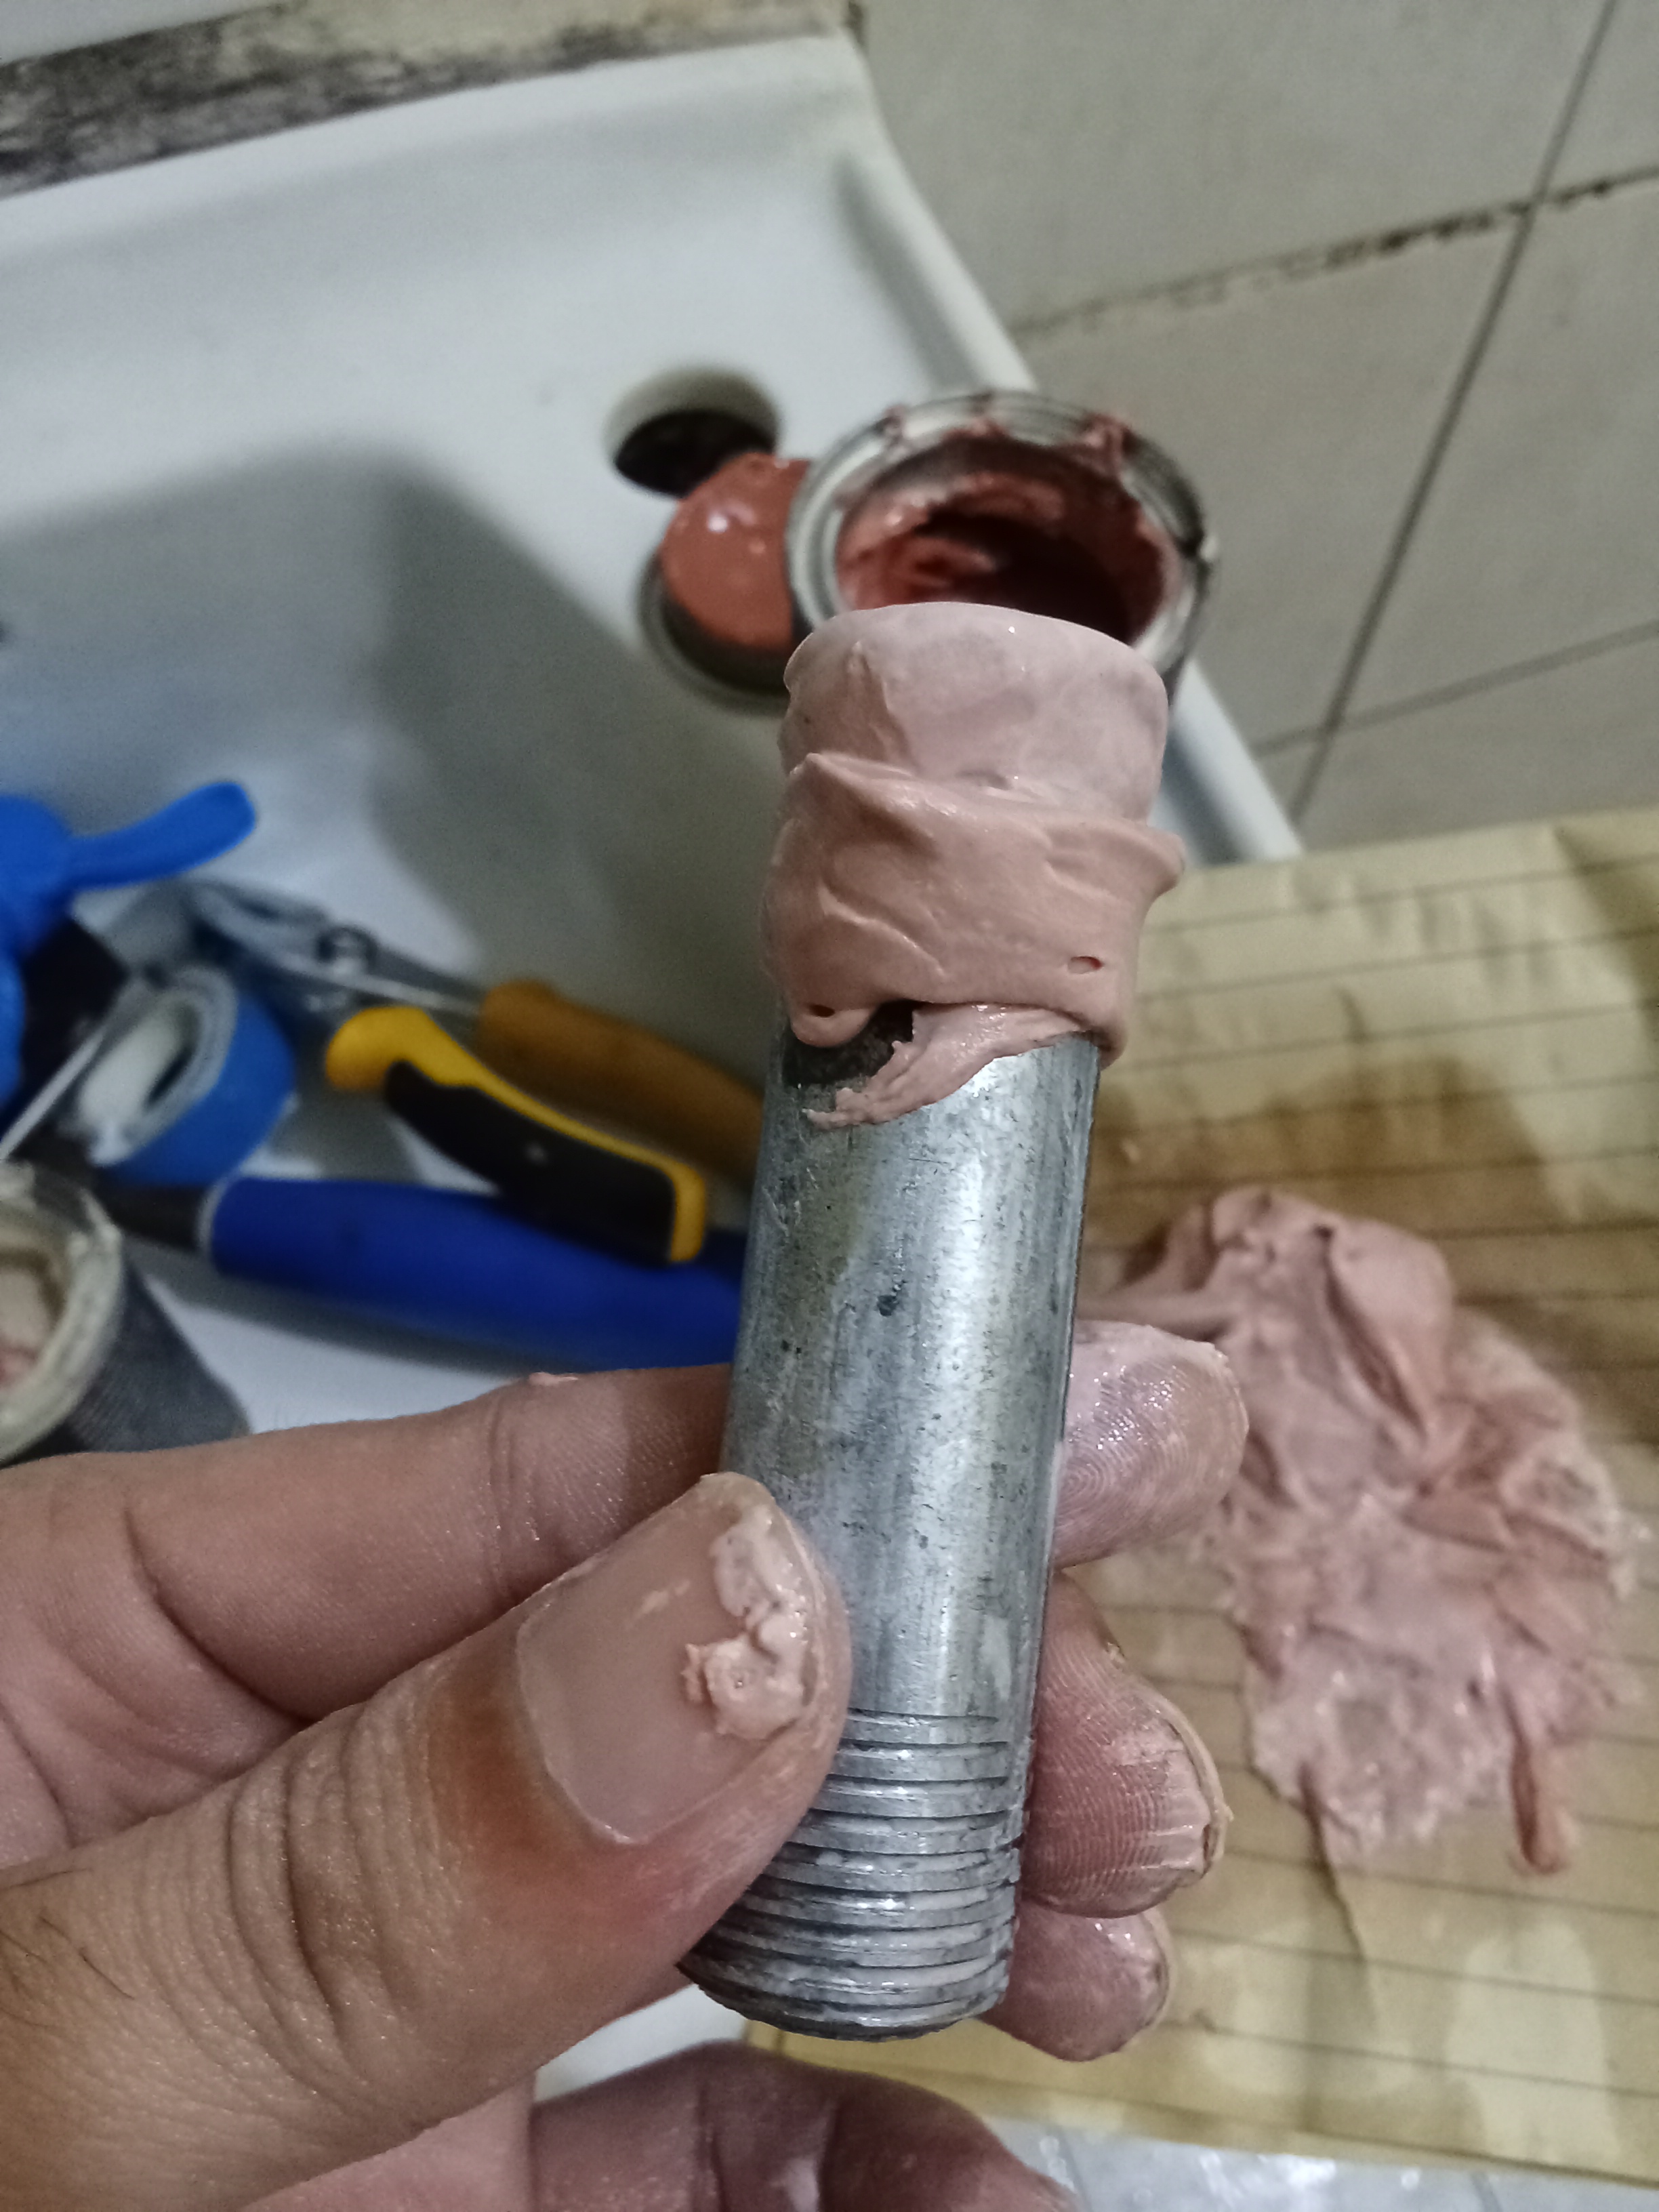
Luma na rin ung faucet na bakal na ginagamit namin sa banyo. Connected to a PVC inside threaded adapter on T-joint connection. Balak ko pa nga sana itiktik ung dingding at tiles para lang makita ung connection pero panget na tingnan. Simple lang naman sana kasi ung repair. Palitan lang ung faucet pero nasira ung threading ng adapter na iyon nung pinilit tanggalin. Kaya ending kailangan na rin palitan ung adapter. Sa advice ng tatay, bumili ako ng 1/2" ID nipple external threaded adapter, 1/2" faucet, tsaka epoxy seal (pioneer brand). Standard naman sa pinas na 1/2” ung size of the working pipe diameter kaya dika maguguluhan. Silbi ng epoxy ay para pilitin iconnect ung bagong adapter sa T-connection. I think bad practice to pero at the time nahihirapan nga ako ilagay nga lang ung epoxy sa 1/2” na butas and on the clock kami since walang tubig sa bahay. After applying the epoxy and adapter, wait for 8 hours to harden the epoxy. While waiting, ilagay mo na rin ung faucet sa other end ng nipple gamit ng teflon tape. Para rito, ginawa na ng dad ko ung paglagay ng tape sa threading kasi walang kagat sa thread nung una kong ginawa. Kailangan lang naman pala kapalan for it. After 8 hours gumana naman!! Makikita mo ung end result sa video below :))
Overview for Repairs:
- Close water supply going to the faucet.
- Buy 1/2” nippple external threaded adapter, 1/2” faucet, 1 set of epoxy seal
- Clear debris from previous adapter and apply a blended epoxy on one end of the nipple; Apply it to the cleared T-connection.
- Wait for 8 hours until epoxy hardens and confident that there is no potential leaks in the inside connection.
- Apply teflon tape to threads of replacement faucet; TIP: if threading looks loose (walang kagat), add thickness of teflon to ensure a tight closing.
- Open the valve to see if it works.
Microwave Repair (2025)
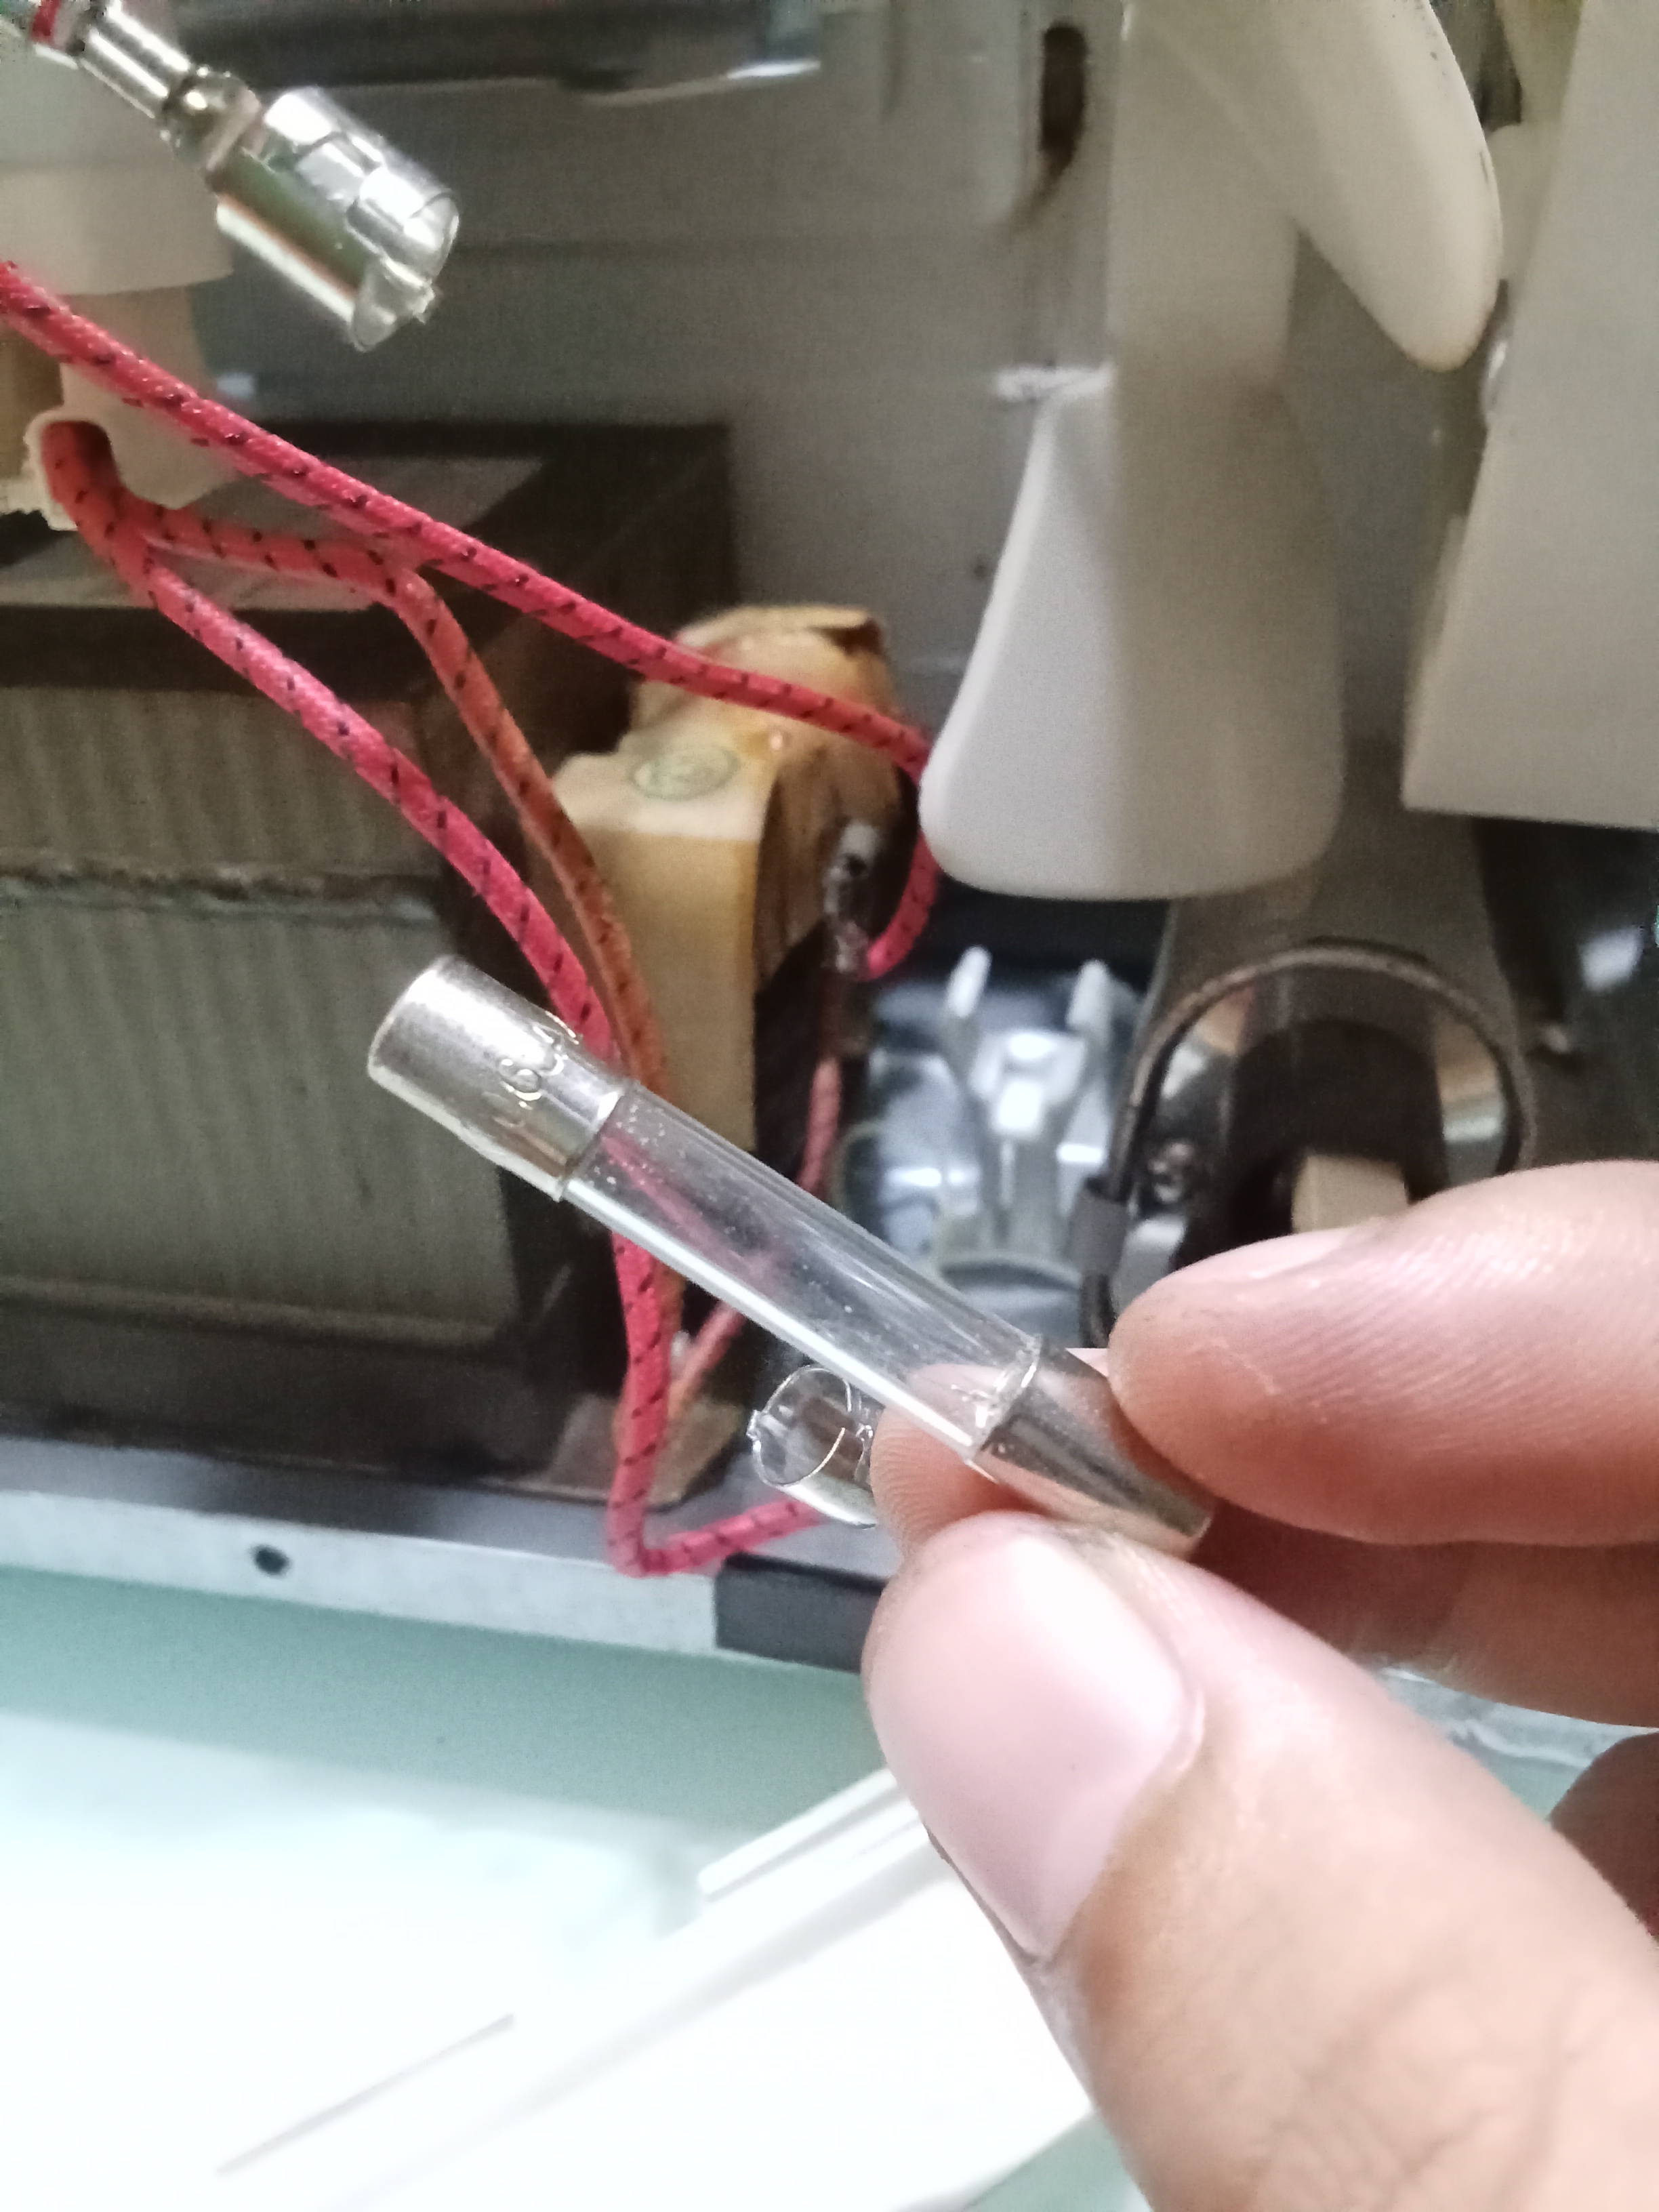
Recently, nasira ung microwave namin and for a week we realized how much of a necessity it is at home. Naging norm na namin magre-heat ng food and even reheat coffee mugs kapag malamig na ung kape. Kaya I set myself to fix it. At first, madali lang ung fix sana, kala ko may broken fuse sa loob ng microwave which is visible once you see the glass tube is either broken or the isolated lead wire is cut. I saw a fuse (there are 3 in total in microwaves) that looked like a cut lead wire kaya pinalitan ko lang to upon ordering the needed fuse change for microwave use (this depends sa specs ng fuse pero nakasulat naman siya at the metal plate).
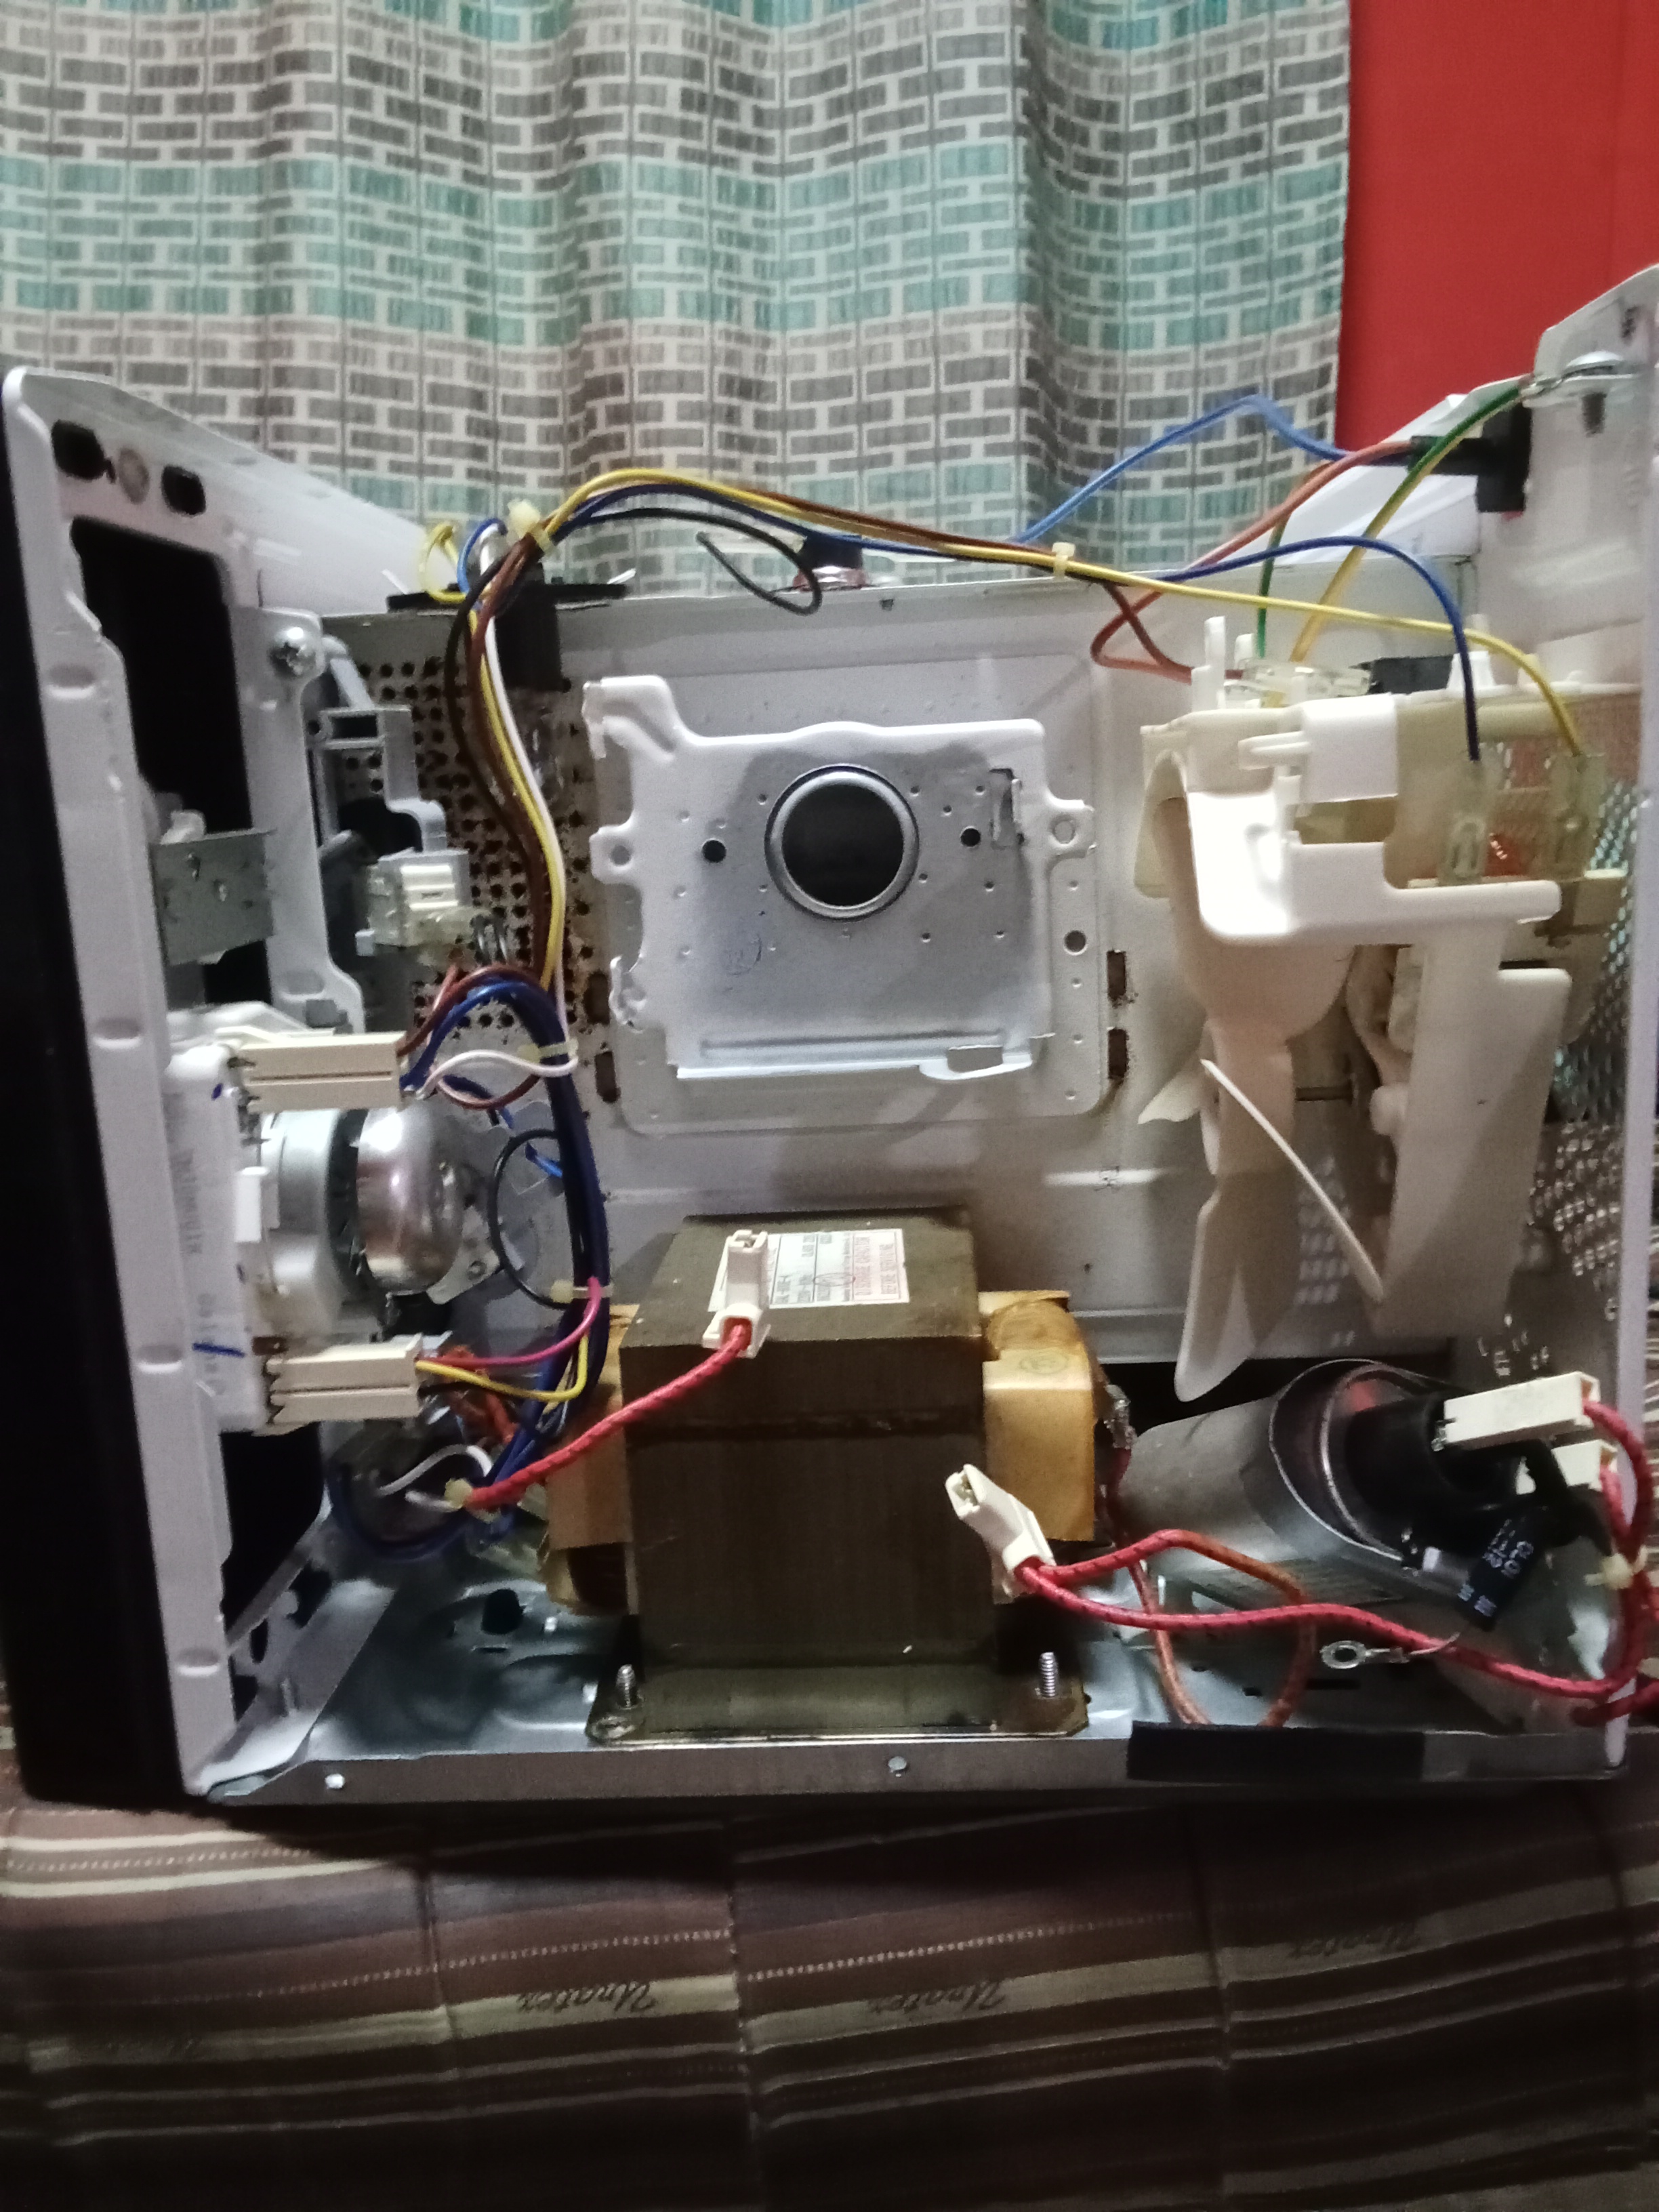
It didnt work. So the issue was not on the fuse. I then had to do a continuity test for all electrical components to see if electricity is flowing as designed. For continuity test, dapat tutunog ung multimeter and there is zero reading resistance on the screen. After painstakingly, checking each component, the culprit is the filament magnetron capacitor that supply current to heat the filaments to produce microwave radiation. Malas ko pa naman at ito pa ung nasira kasi nasa loob pa talaga ng coils ung capcitor na to and very known to given high ESD if wala proper grounding kahit hindi nakakabit sa wall plug. Thankfully, di naman ako na kuryente, alam ko naman na you just need to flow the static electricity to a nearby ground source which is I did via a screwdriver with a rubber handle (rubber acts as the ground). Upon buying the component which is not cheap btw, and replacing it via soldering back the capacitor to the coils, it was finally working!! The hard part talaga was the disassembling and re-assembling of the parts and ensuring that you did not mess up any wirings or connection. Aside from that, if done correctly, it should be working. I don’t have a video the moment that it was working but below are photos of the troubleshooting and reverse engineering that I did. In total we had 3 weeks where we had no microwave, mostly waiting game on getting replacement parts.
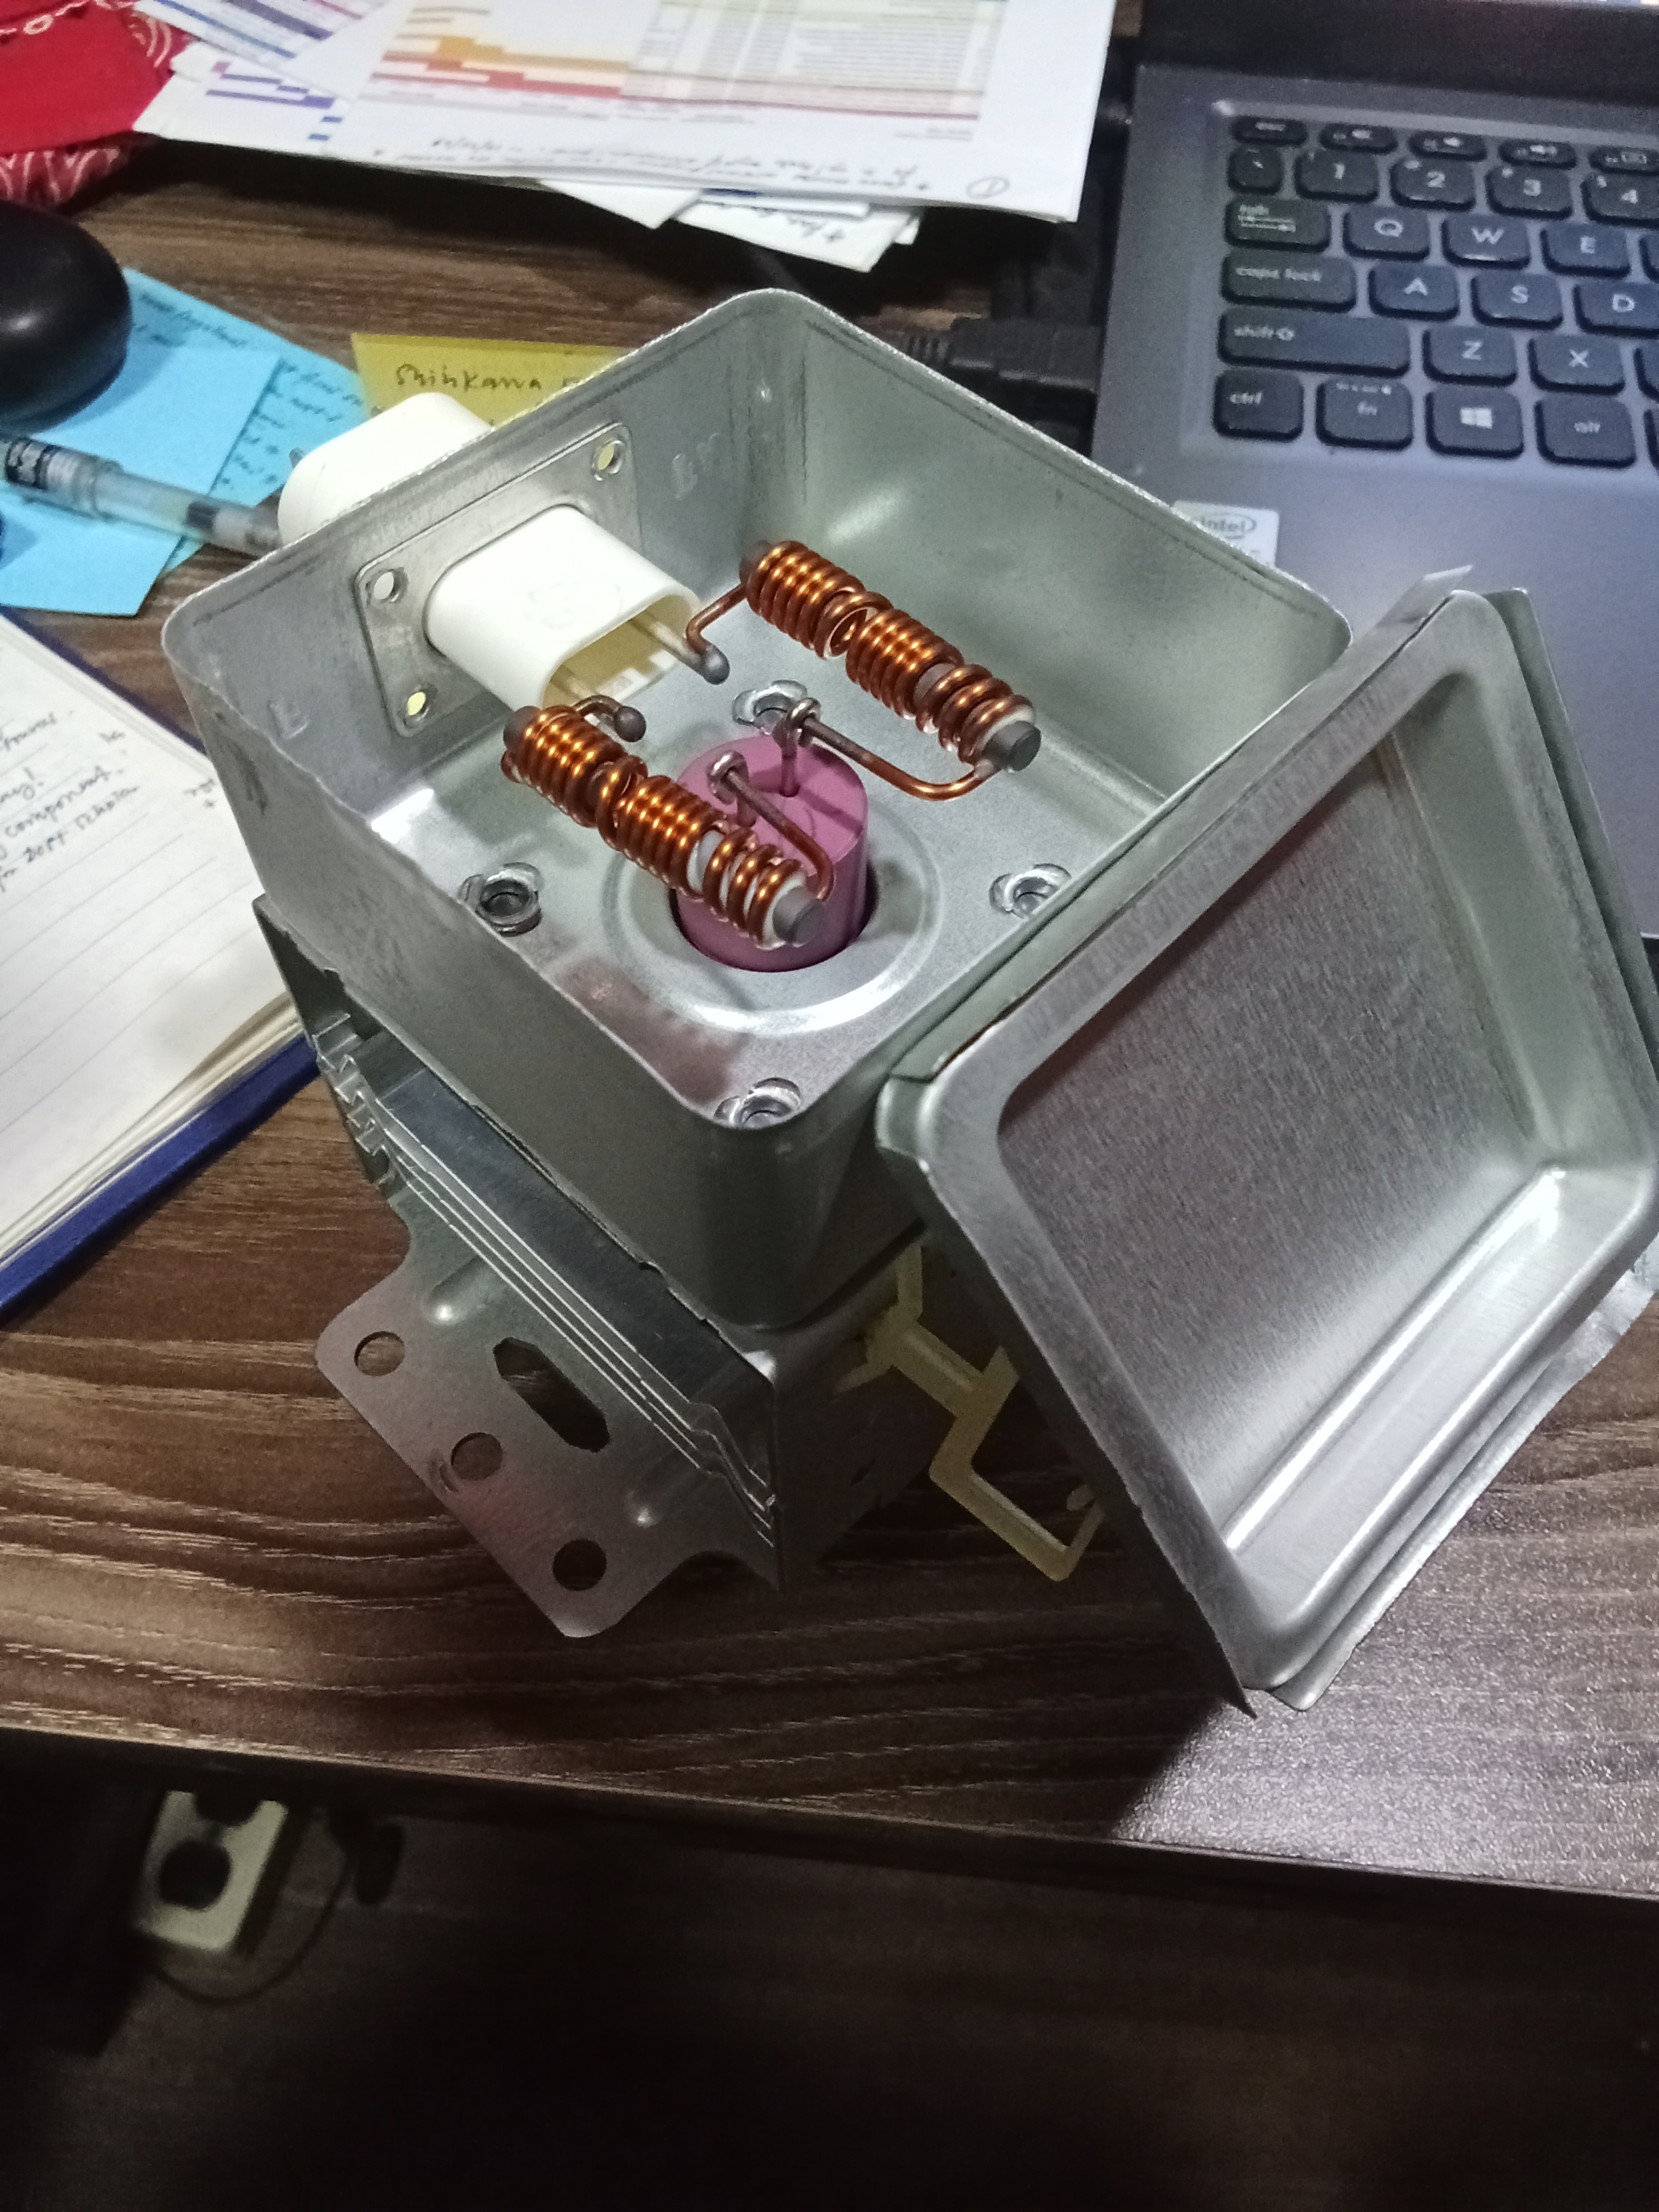
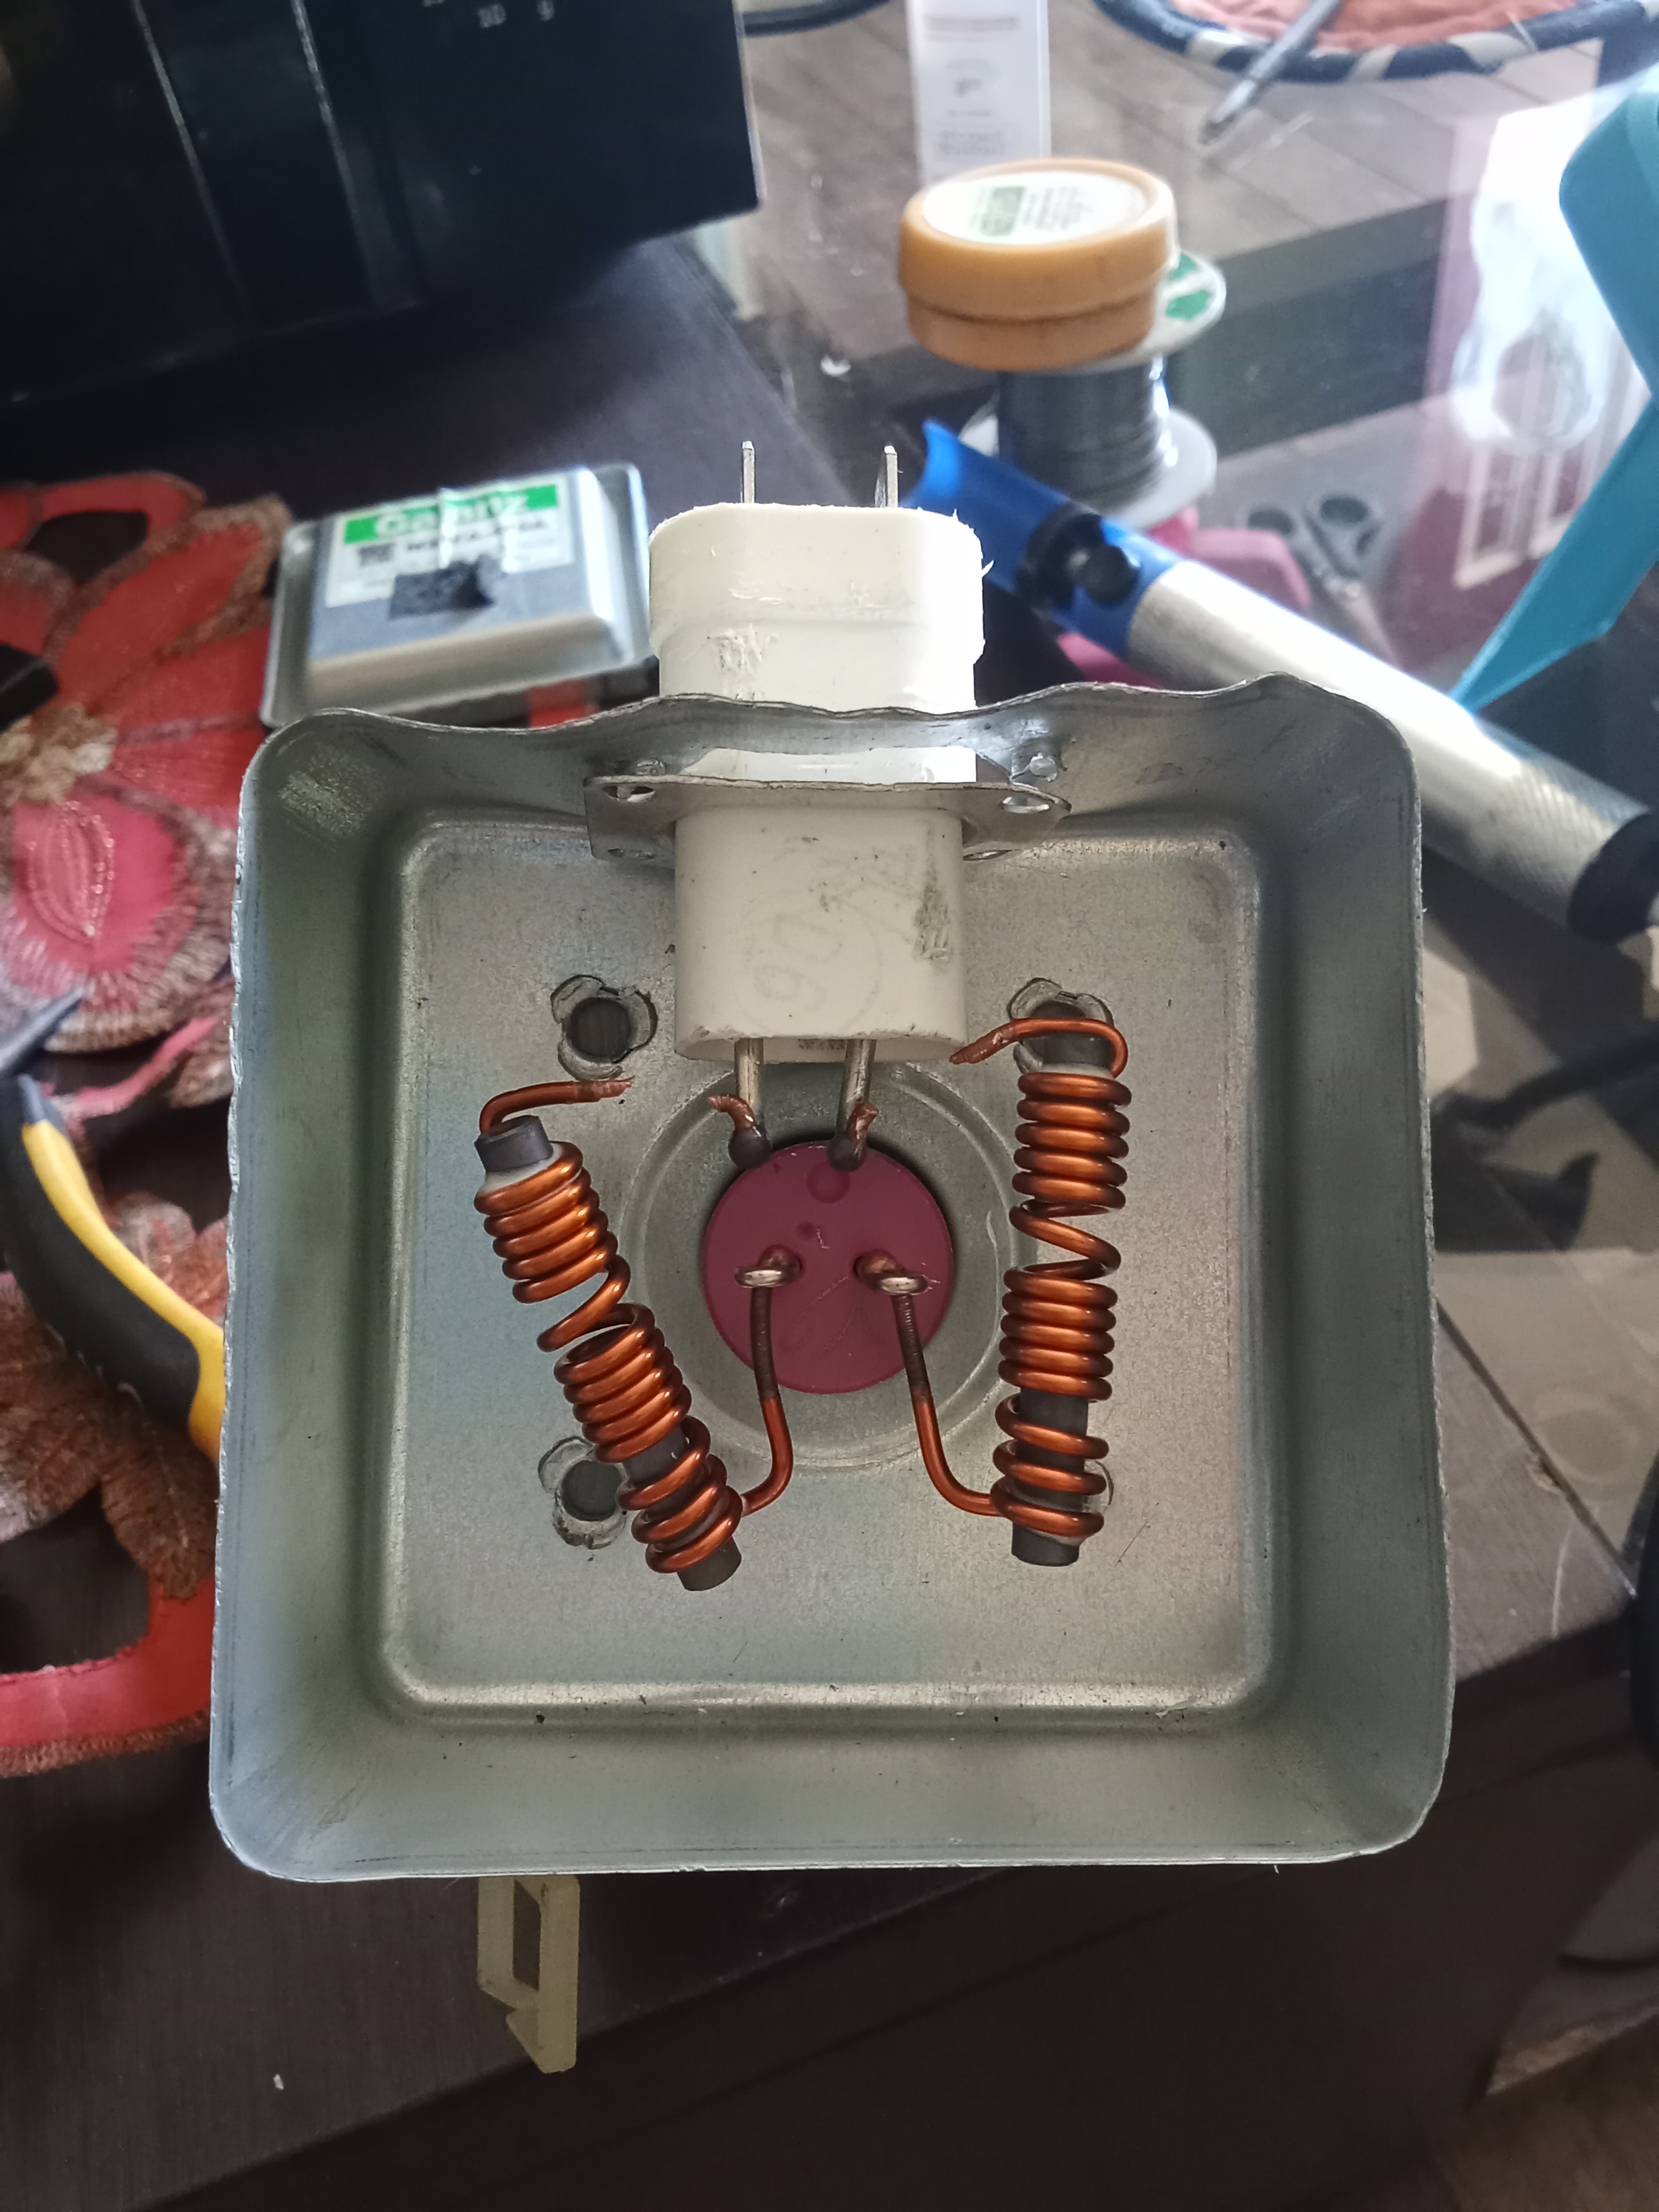
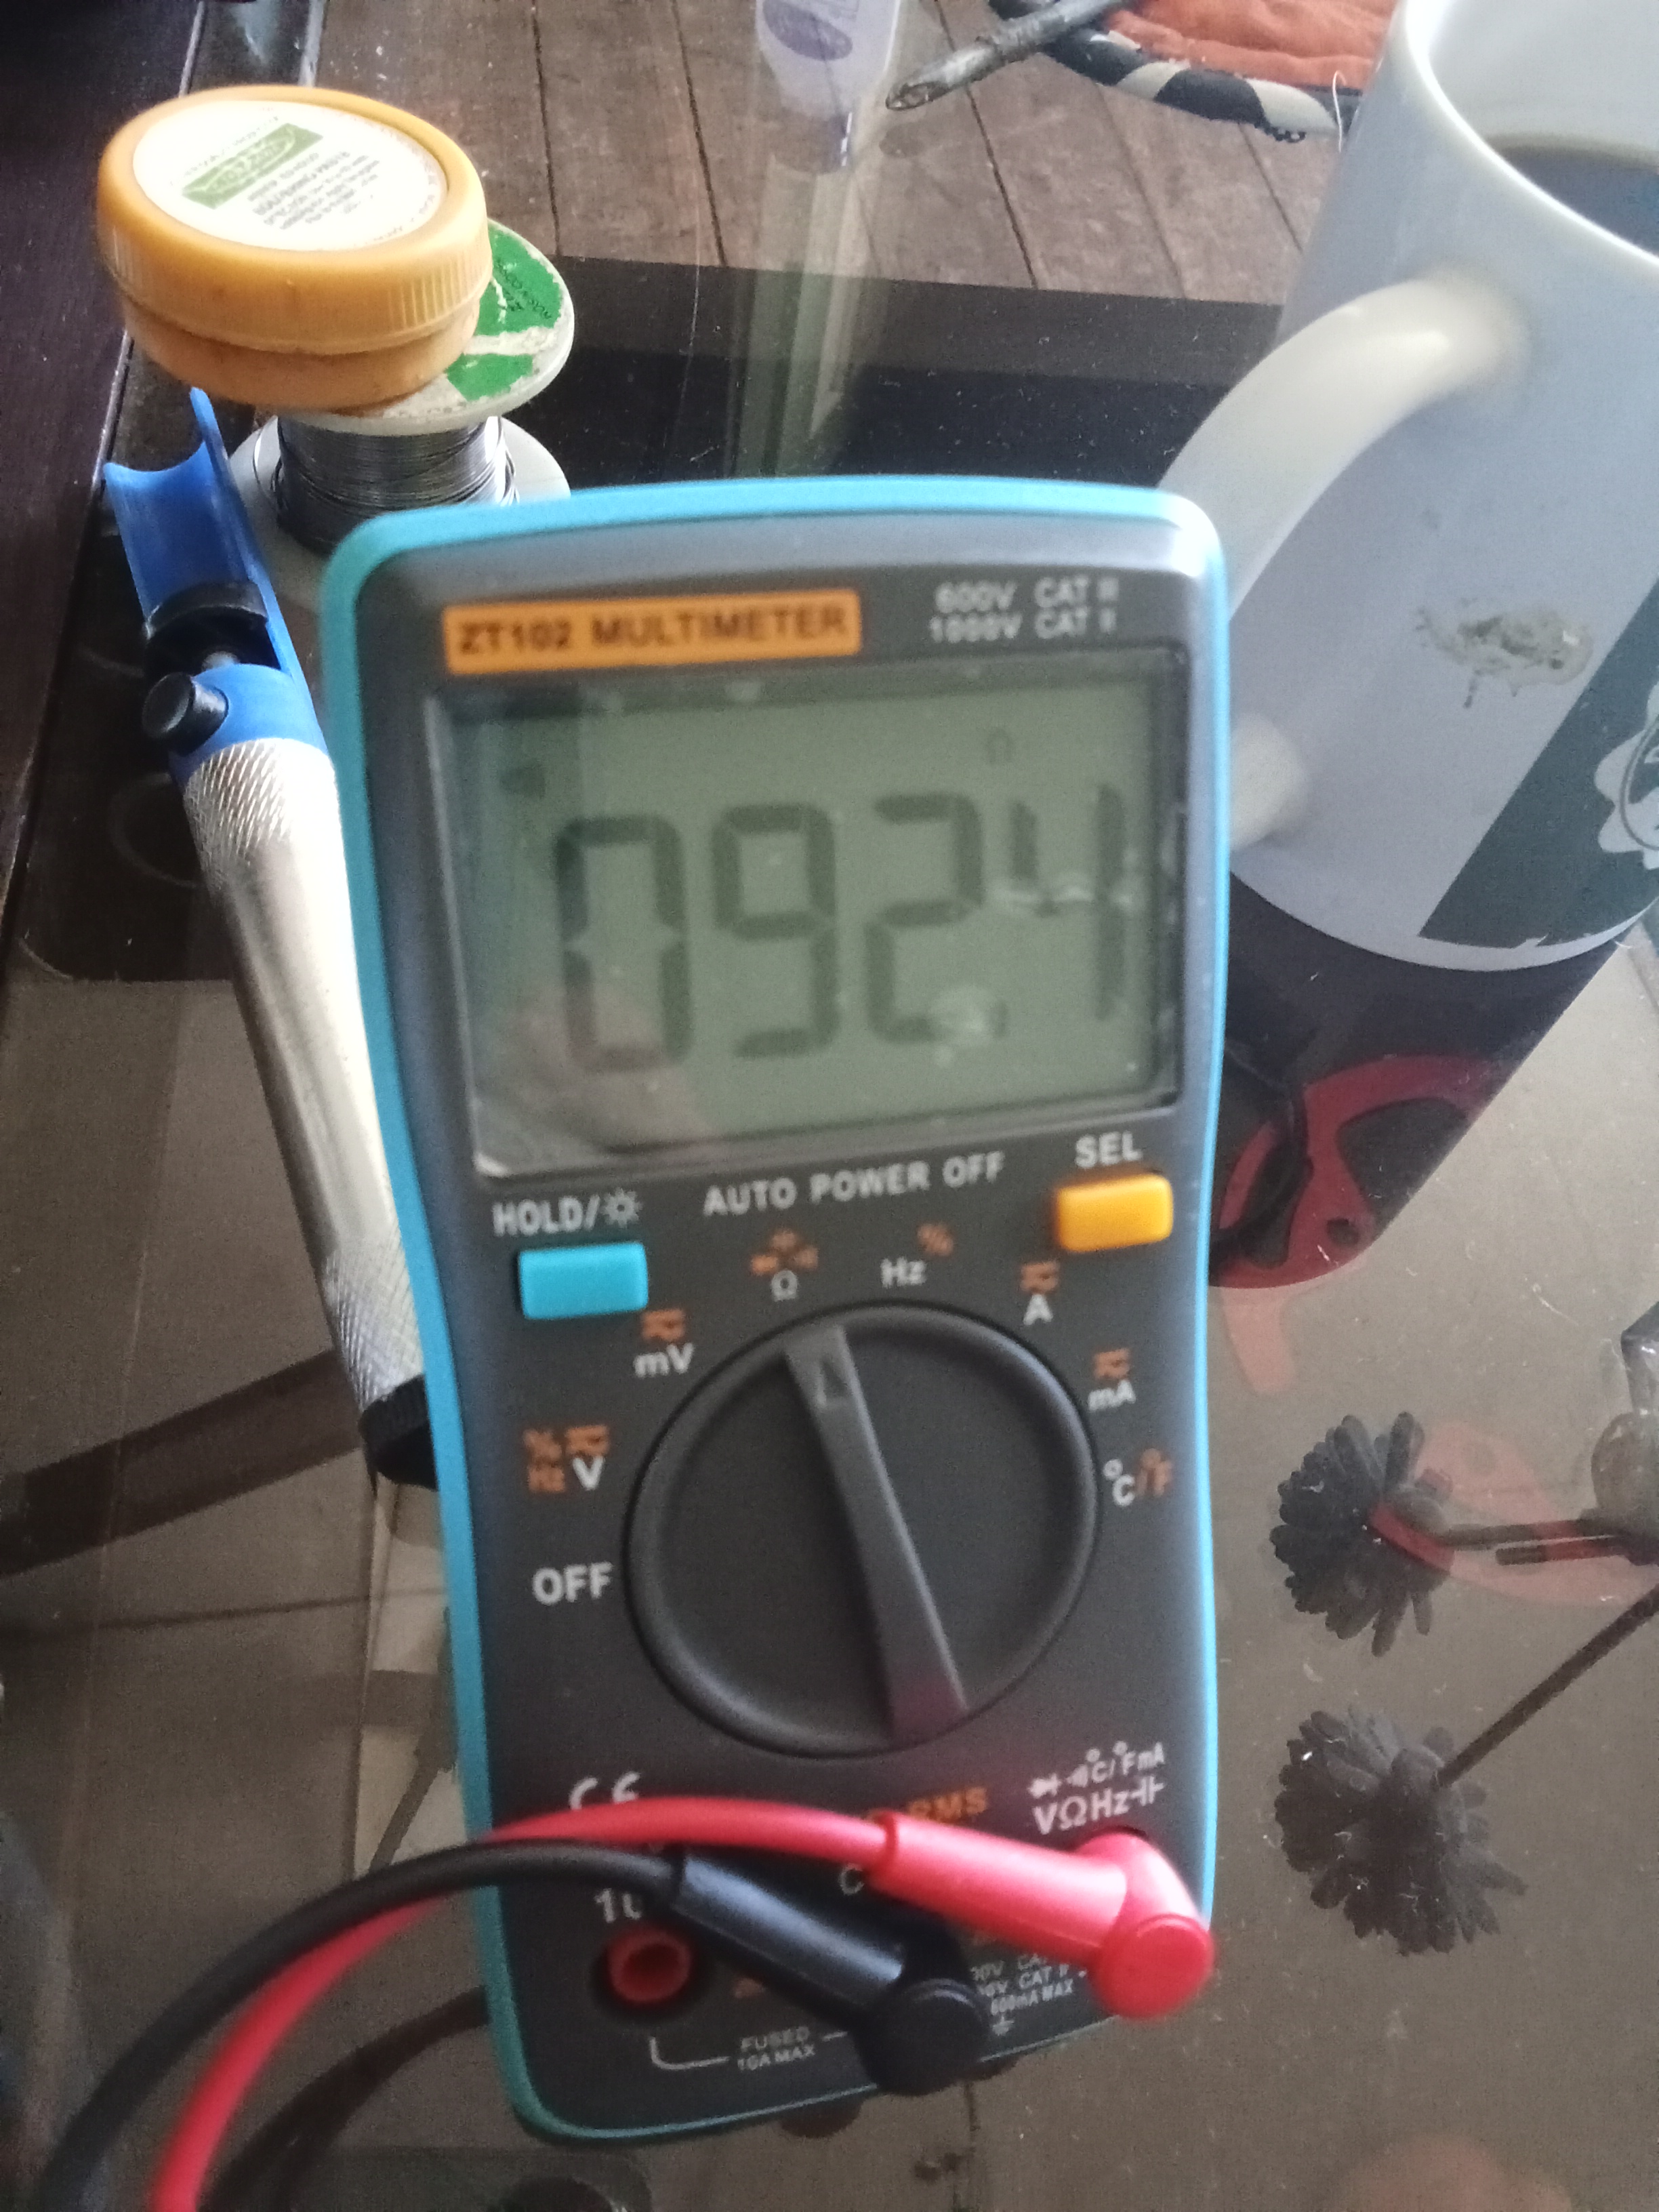
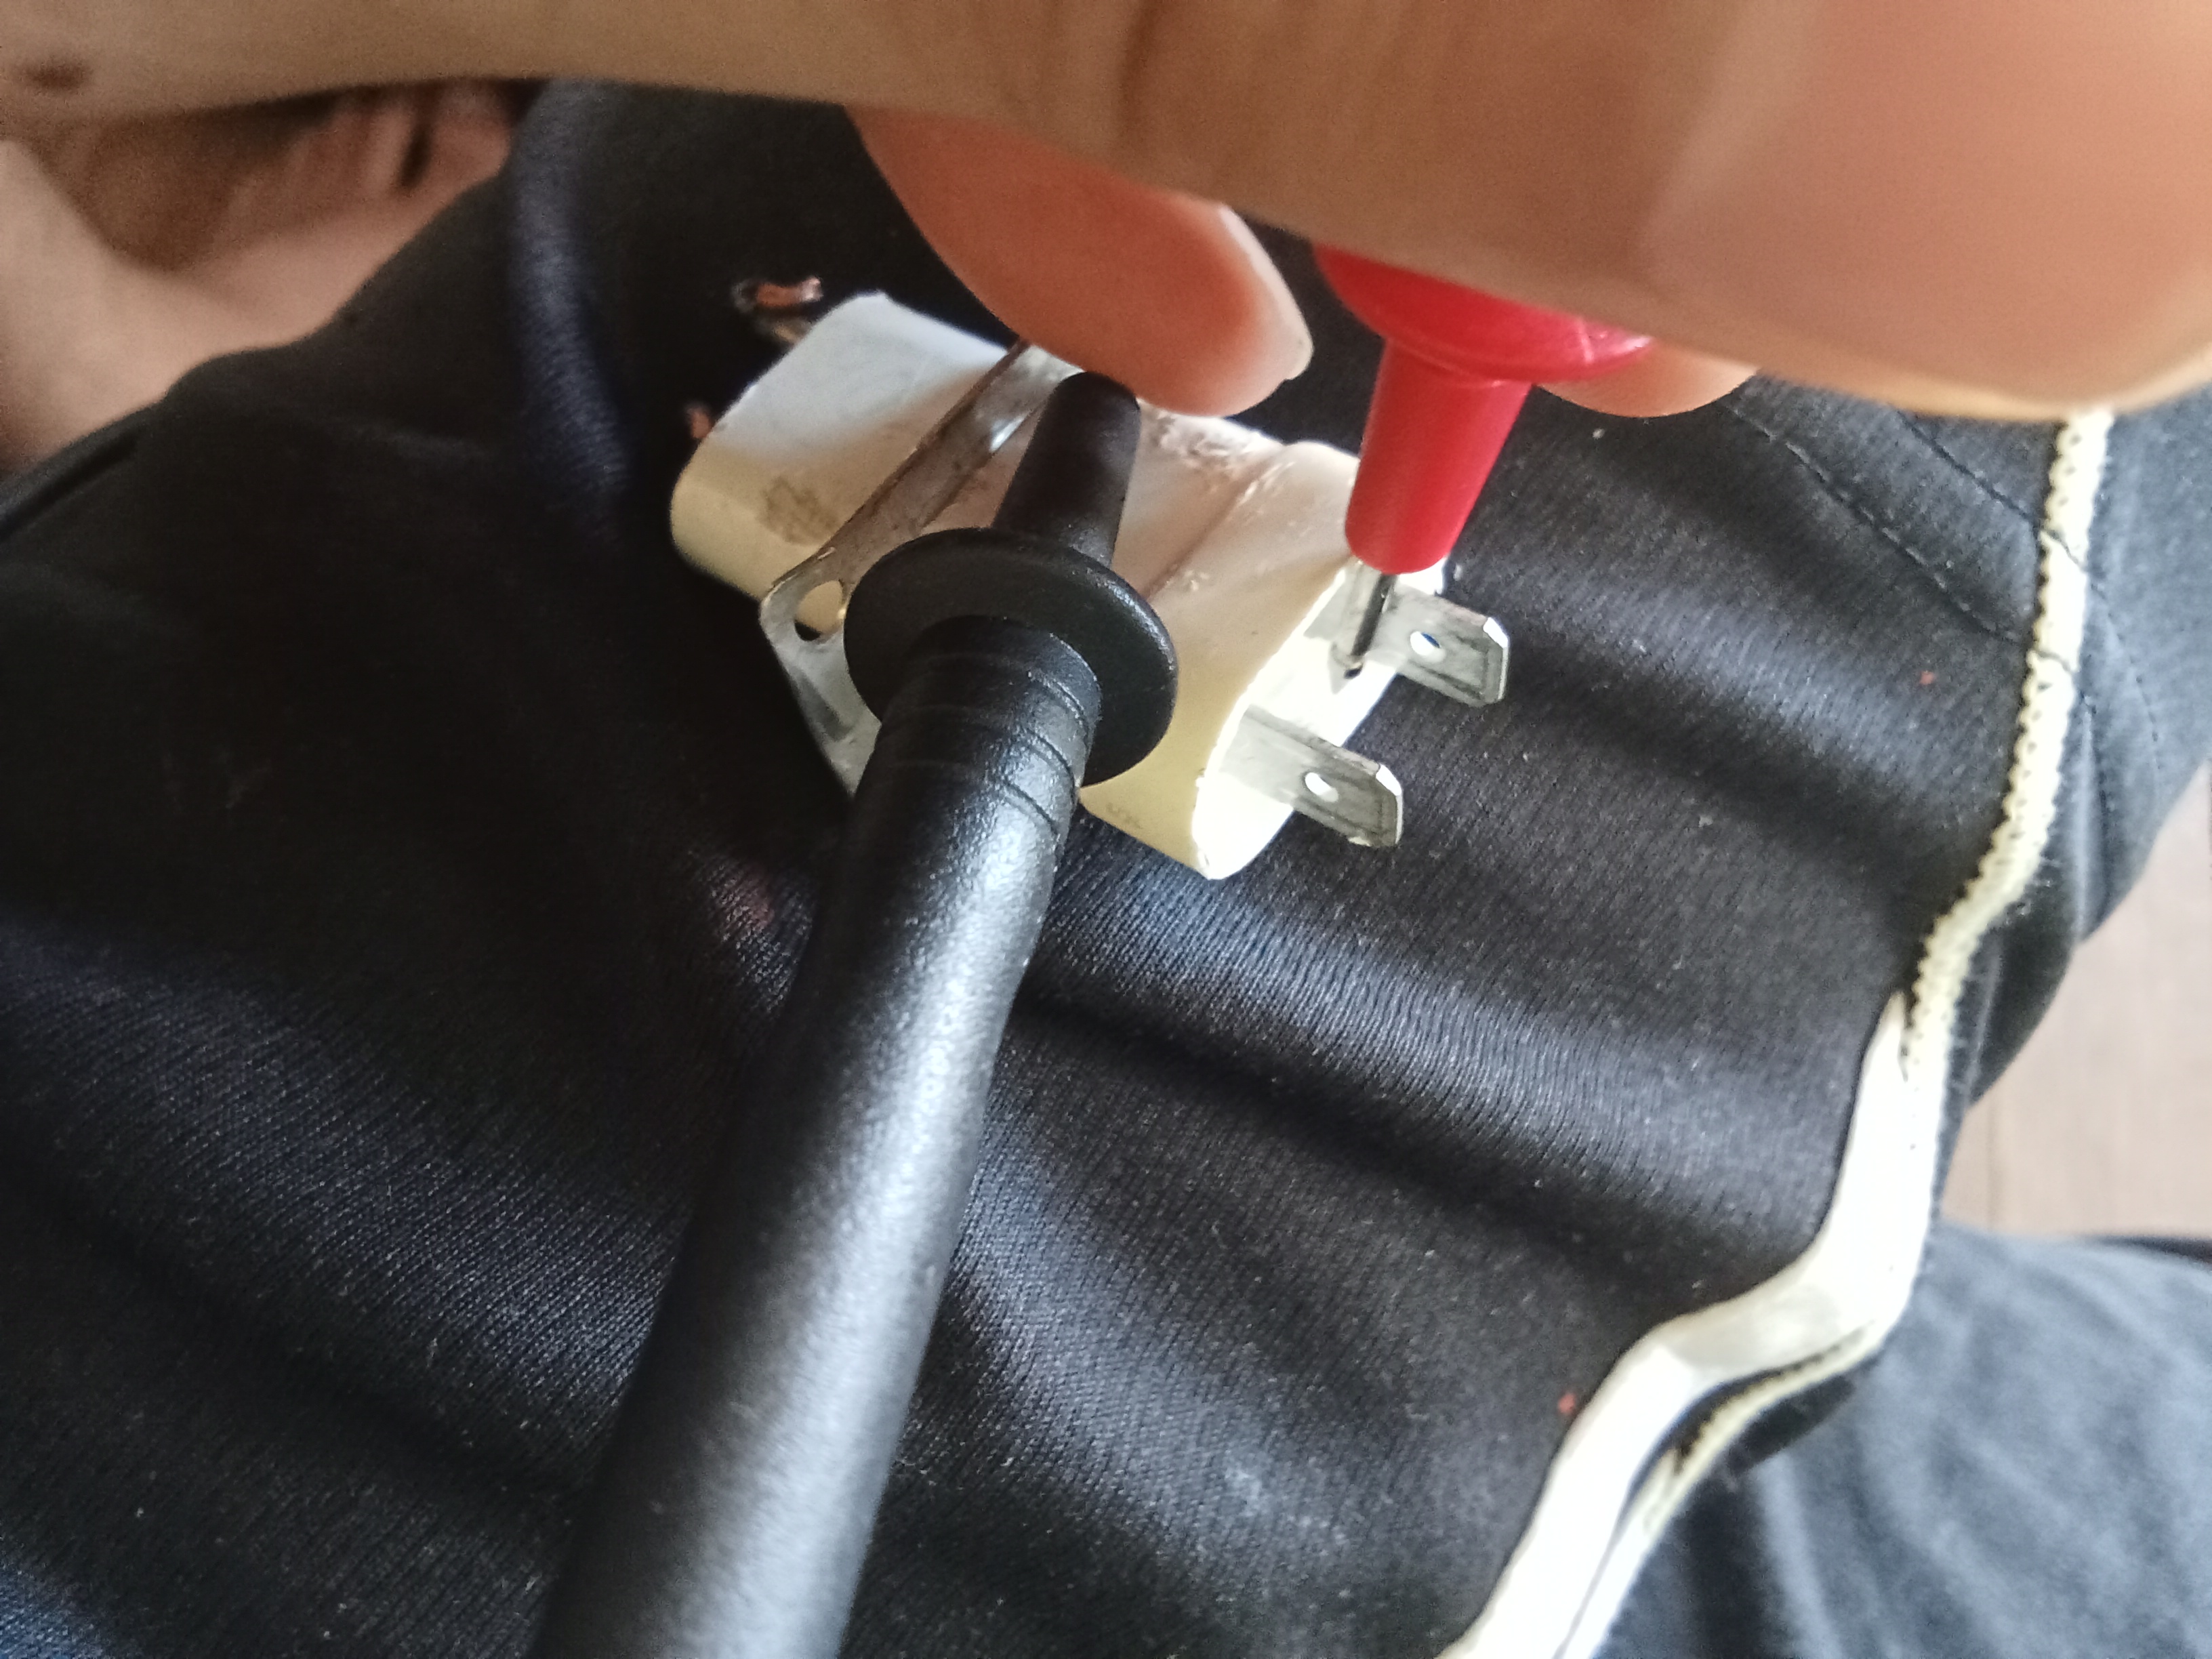
Overview of Repairs:
- After disassembly, inspect immediately
broken fuses. - If fuses is not the faulty components, manually conduct a
continuity test - Upon seeing the suspected fault, buy the component then test for functionality. Try until it is achieved.
Unresponsive Monitor (2024)
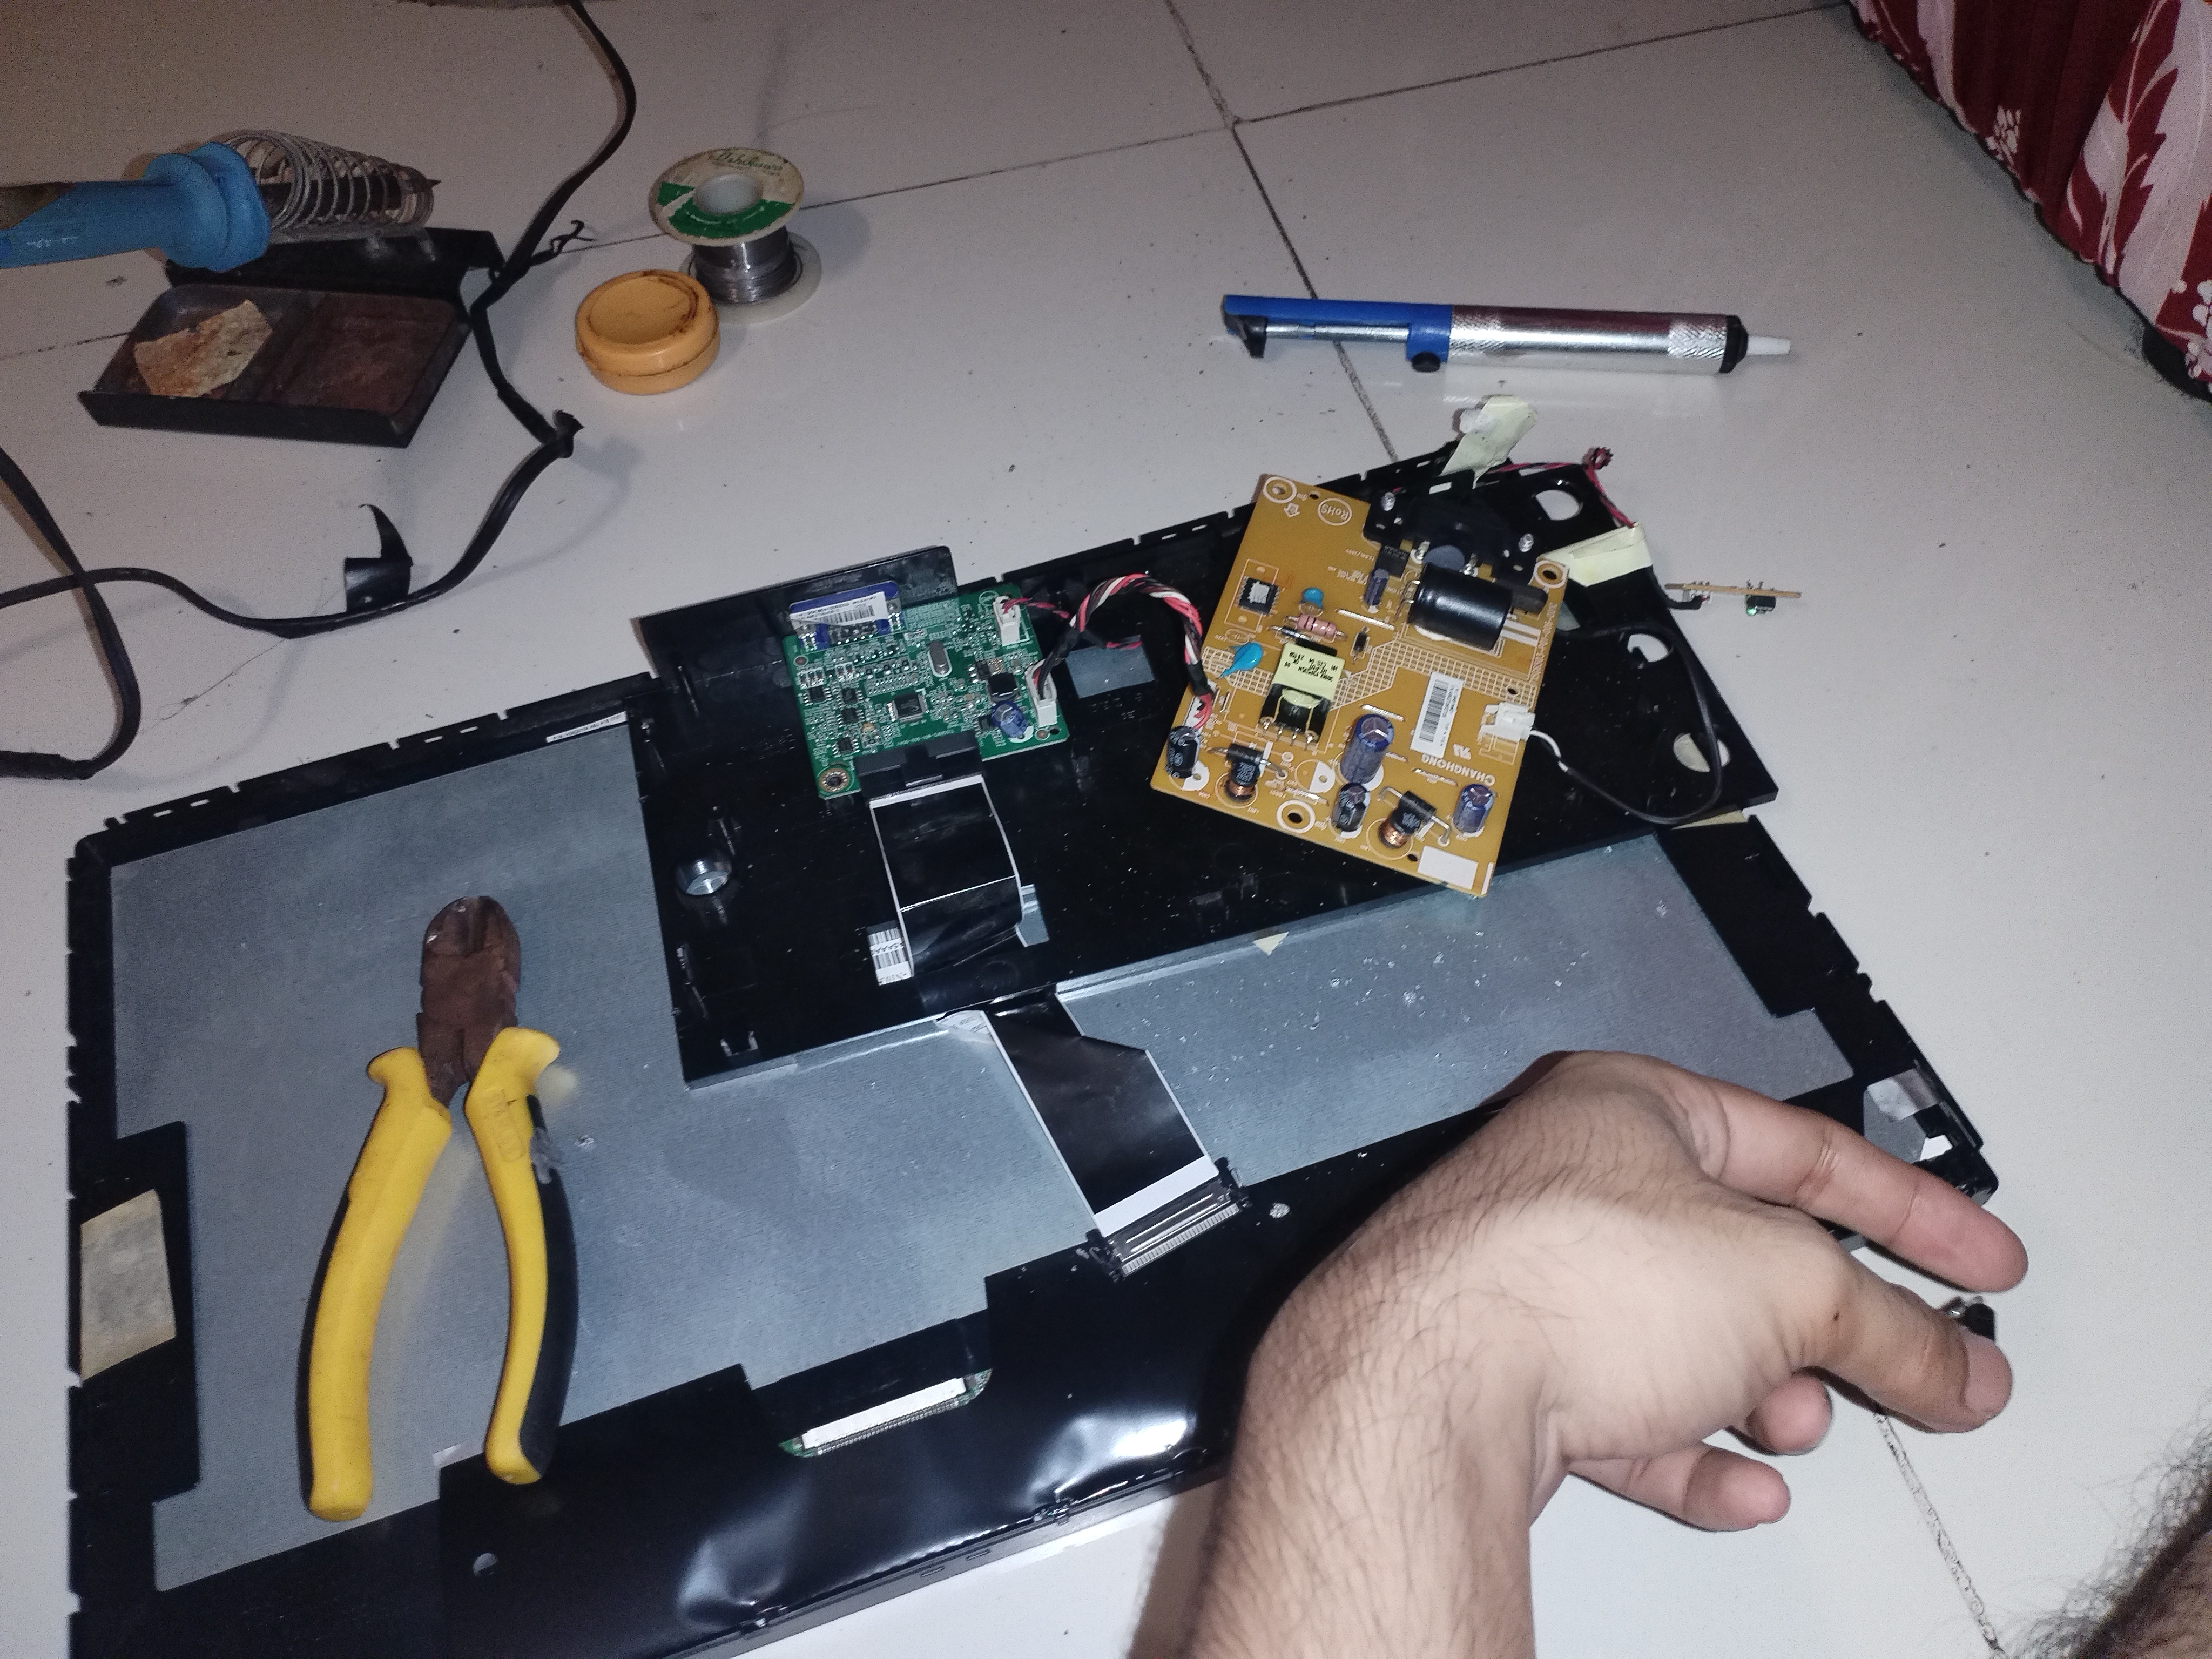
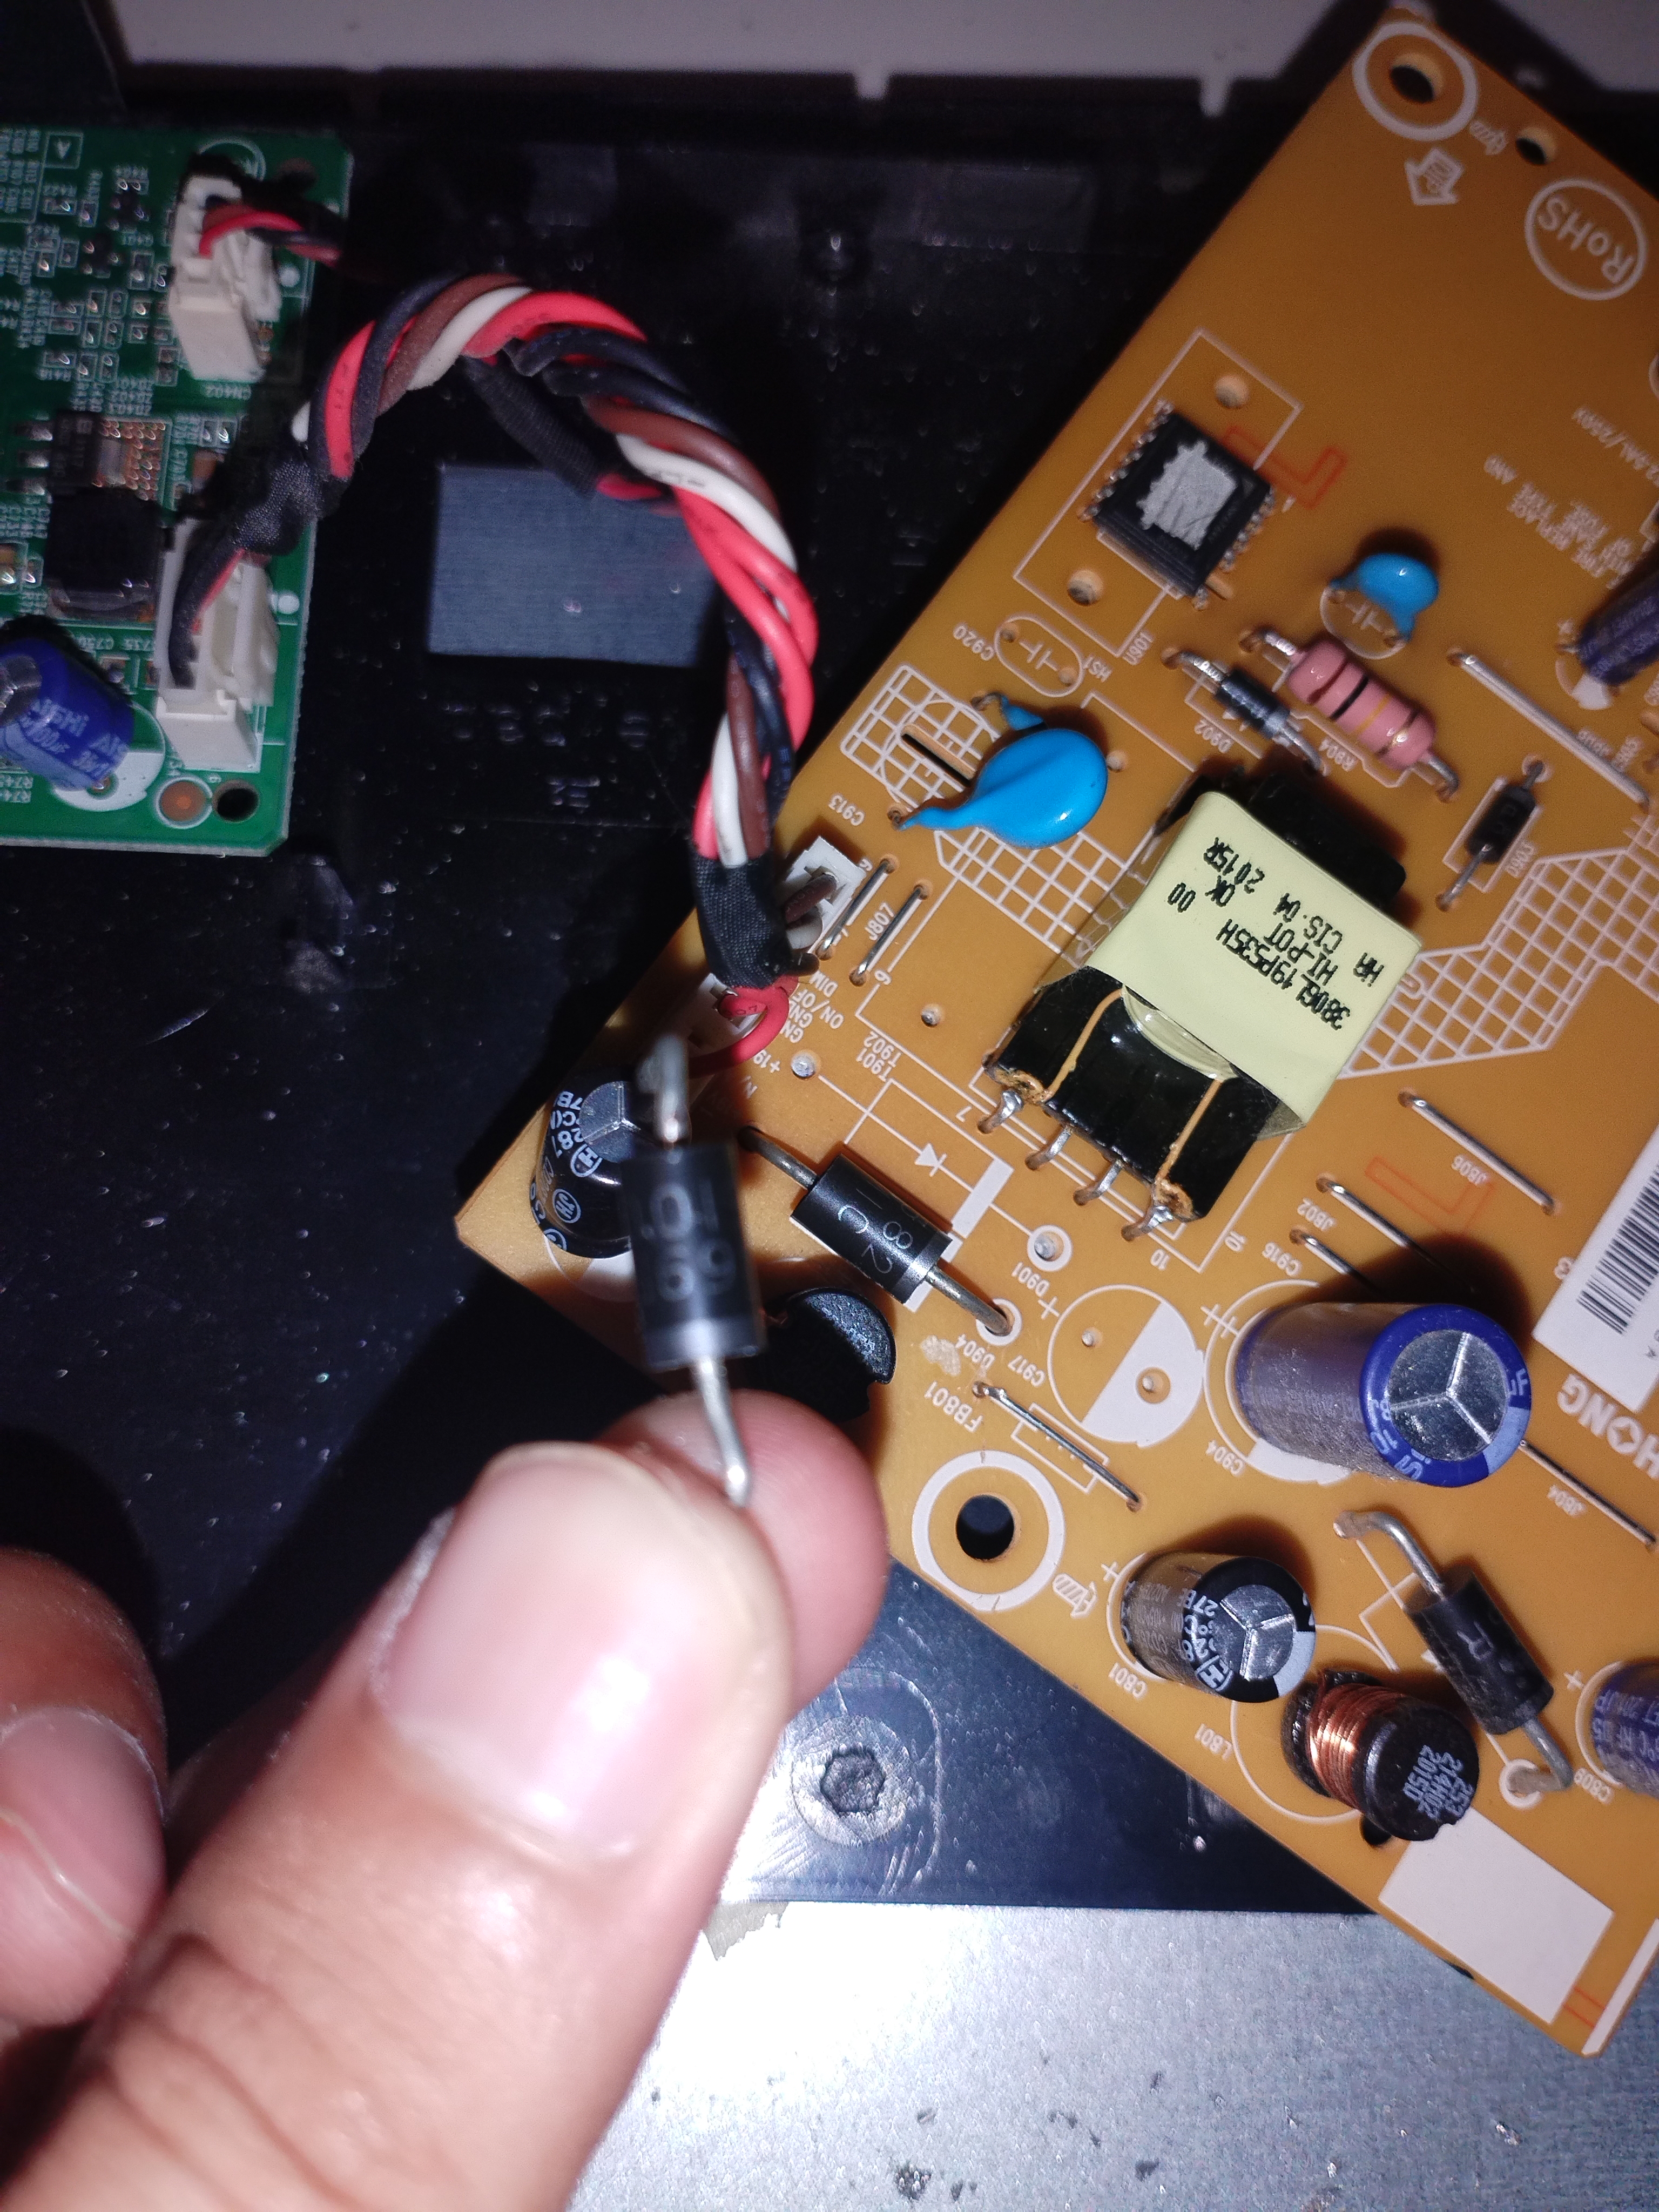
I have bought my kuya’s old monitor kahit hindi siya gumagana nung inabot sakin to at POS. Nakakatuwa at parang binigay pa sakin ng discount knowing this back 2023 pa I believe. I left it in my room for a year then I realized that i’m now doing software work and I need a second screen for it kaya eto ginawa kong ayusin ung monitor for my benefit. Tbf, may mga videos na talaga sa youtube that provides you a step-by-step instruction how to troubleshoot this and straight forward lang rin talaga which is conducting a continuity test on components with no ESD which is the most gruelly part of the repair. AFter probably 1 1/2 hours, I saw the fault to be a faulty diode giving a reverse bias indication in the multimeter. This is wrong behavior for a diode of course since there is resistance on expected flow. I got rid of it, thankfully I have the needed diode at hand and soldered it to see if it was working and thankfully it was the only component that was faulty as the LED screen provided a backlit. You may see the videos and images that I have for this fix below!
Overview of Repairs:
- Check existing resources online to guidance; immediately to a
continuity testper component - Replace
suspected faulty componentupon me seeing its unintended behavior viasolderingit in the PCB. - Test for functionality. Try until it is achieved.
More DIY repairs to come!
Enjoy Reading This Article?
Here are some more articles you might like to read next: